Branded Emails
Overview
To strengthen the portal's branding, all communications from Cloudmore to your customers can be configured to use a company-specific email address.
For example, emails can be sent from notifications@mycompany.com, ensuring that every interaction reflects your brand identity.
Setting up Branded Email Domains
Log in to the Administrative Console for Your Domain - Access the administrative console for your domain.
Locate the DNS Records Page - Find the page where you update the DNS records. You may need to enable advanced settings.
Update or Create the SPF Record -
If your domain already contains a TXT record for SPF, simply add
include:_spf.cloudmore.comto the list. Example:v=spf1 include:example.com include:_spf.cloudmore.com ~allIf not, create a TXT record containing the text:
v=spf1 include:_spf.cloudmore.com ~all
Save Your Changes - Save the changes to your DNS records. Note that it may take up to 48 hours for the changes to update.
Keep in mind that changes to DNS records may take up to 48 hours to update.
Cloudmore now supports DomainKeys Identified Mail (DKIM) for sending branded emails. DKIM enables the recipient to verify that an email claiming to come from a specific domain was indeed authorized by the domain owner. This helps ensure that branded emails sent from Cloudmore are less likely to be marked as spam.
To set up DKIM for Branded Emails -
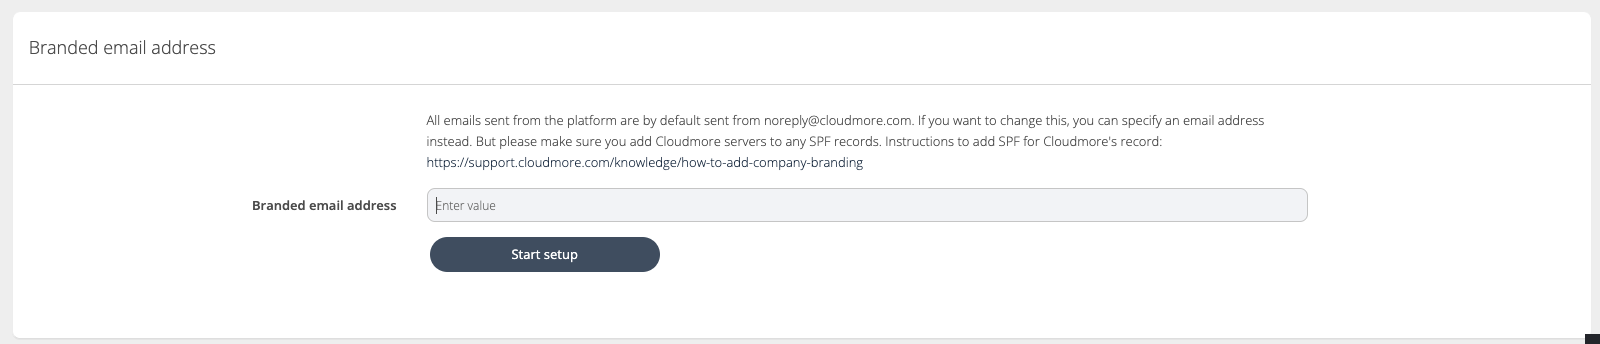
Go to the Branded Email section under Branding > Branded Login and enter the branded email address.
Press Start Setup. The domain will be created with SendGrid but will not be verified initially.
The status will show as “Domain not verified”. The email address is now locked, and the domain name cannot be changed.
Create CNAME Records - The CNAME records will show the user which records need to be created.
Verify the Domain -
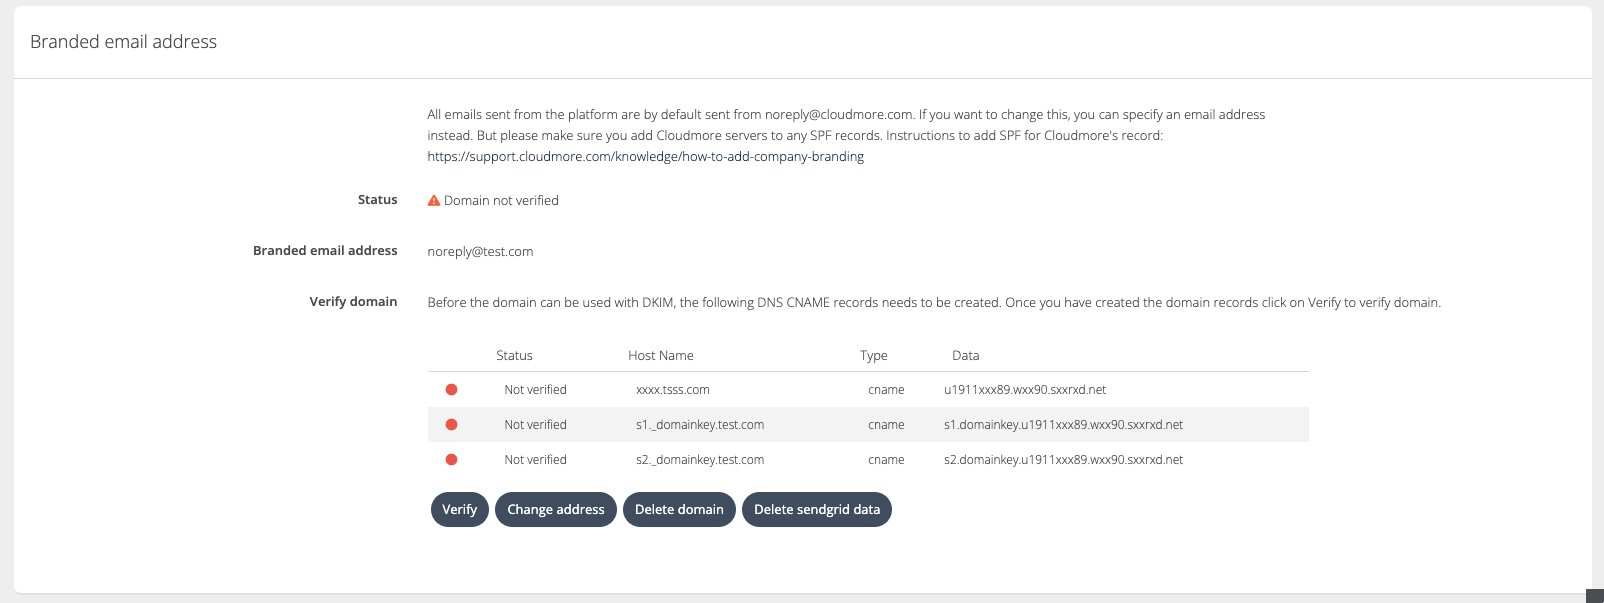
Press the Verify button to ask SendGrid to verify the domain.
If successful, the status will change to verified against all records.
If unsuccessful, the status column will show what was verified and what was rejected. An error message will indicate what needs to be amended.
Manage the Branded Email Address - The branded email address can be managed with the options available:
Change Address: Opens a popup modal to change the email address.
Delete Domain: Deletes the domain with SendGrid and reverts to the default view