Overview
This document covers Creating and Managing Services, detailing the processes of setting up and maintaining various services.
It underscores the importance of creating services exclusively at the Seller level to ensure proper management and control.
Setup of a service
When setting up a service in Cloudmore, basic marketing information is first entered like logo, name, and description so that users can easily find and read about the service before enabling it. Agreements with terms and conditions for reselling or consuming the service can be activated.
You then create the products that will make up your offerings. Products or service plans will have SKU, terms, and price. The terms are things like subscription period, payment frequency, upgrade rules, downgrade rules, renewal rules, cancellation rules, and available add-ons. There are no limits in terms of how many products can be created for a service.
Custom properties in Cloudmore allow for additional properties to be stored with either customers, services, or subscriptions. These properties can be exposed to customers in different shapes to allow for capturing information from the customer or they can be hidden to store identifiers to make the mapping between Cloudmore and the external service easier.
Broker acting on Seller Level
-
To publish a service, you, as a broker, need to request a Seller level account from Cloudmore support. Once approved, you will receive a separate login for the Seller level.
-
It's important to note that the service setup is a one-time process, and only one person from your company should have access to this account.
-
At the Seller level, the service can be published to the Broker. If your customer has multiple divisions or several Broker accounts, you can publish the service to each of them individually..
-
Price management for these services is handled at the Broker level, allowing each Broker to manage pricing independently.
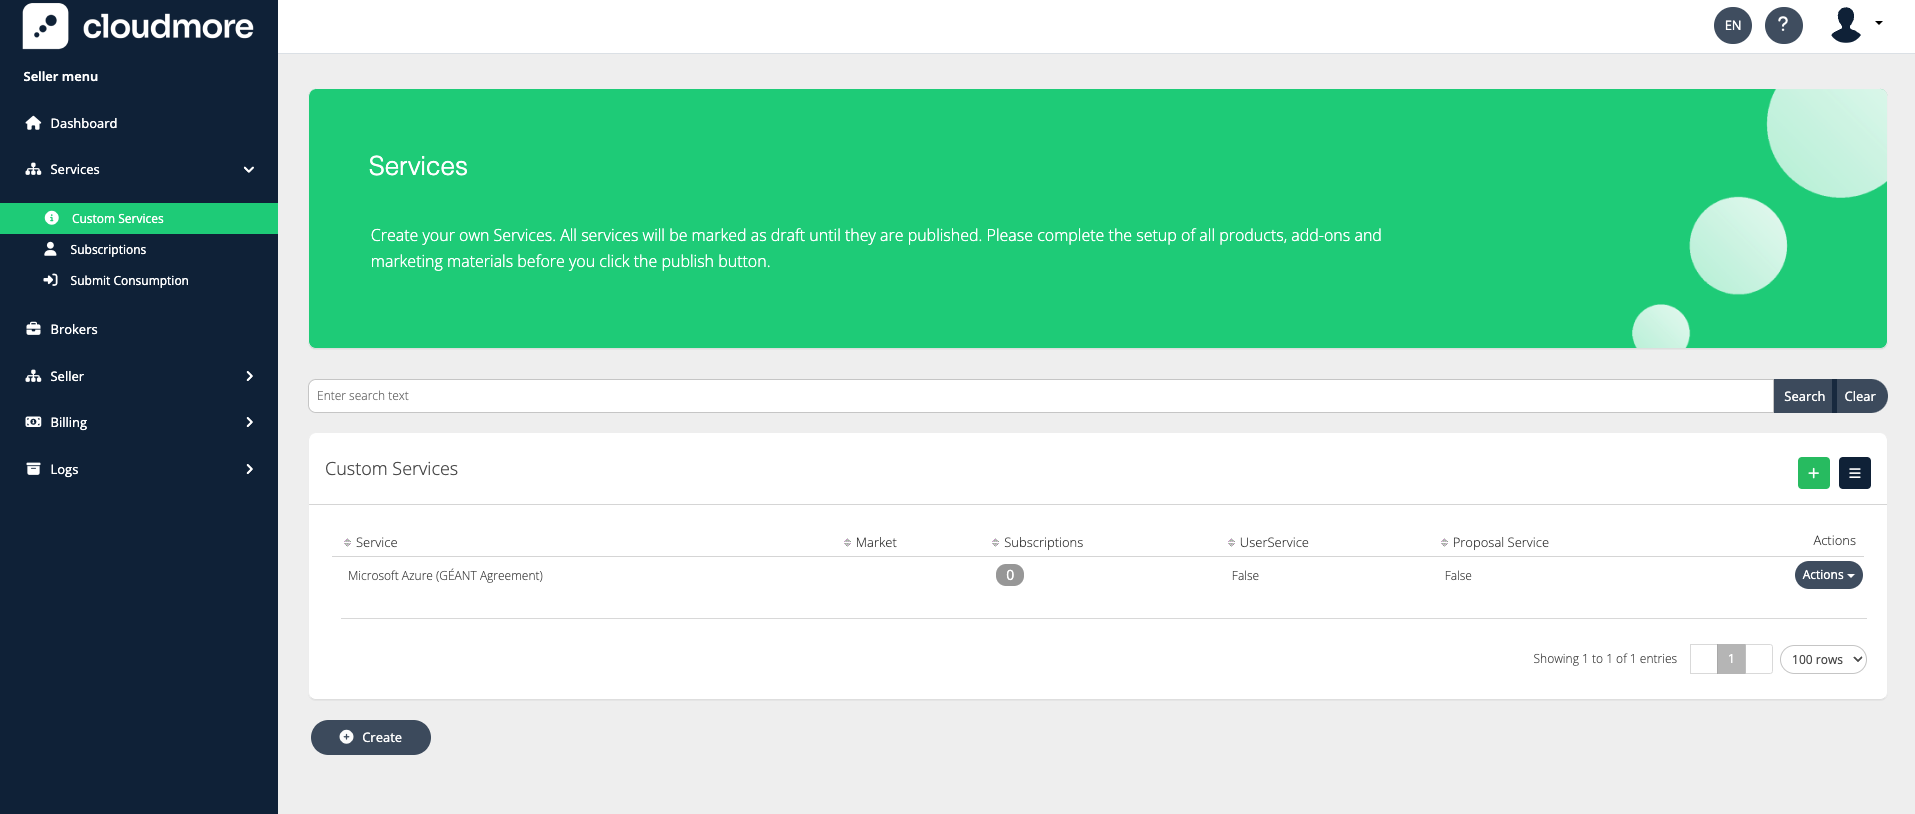
Creating and publishing the service on Seller level
Create Service
-
Log in to your Seller account.
-
Navigate to Services > Custom services
-
Click on Create
-
Enter the properties for the service and then Click Create.

Important Terms related to Service
-
Service Name: Name of the service as shown after publishing.
-
Vendor: Name of the original creator of the service.
-
Categories: Choose from the pre-set categories in the drop-down list.
-
Style: Upload an icon for the service (image size should be 120x64 pixels).
-
Billing: Select the day of the month to generate billing for the service.
-
User Assigned Service: Check this box to link the service to user accounts. If unchecked, it will be associated with the organization only.
-
Only Allow One Subscription per Organization: Check this box to limit each product to a single subscription instance.
-
Display Only Services: These services are visible in the Marketplace for viewing and information purposes but cannot be purchased.
-
Provisioning Type: The default option is “Email”, which will send an email to the broker and organization when a new service is added, which should be used for most cases. “serviceConnector” should only be used for service integrations, where the service will be set up to listen for events, and/or when you send a notification to the receiving service regarding an update or creation.
-
Select Template: Attach a welcome email template you created and stored in Cloudmore. Refer to Emails and Notifications on how to make a template.
-
Start date changes: This gives you control over the start date of subscriptions. For example, users can create subscriptions with start data in the past, thus generating billing for historic periods. Similarly, it allows to schedule a subscription to be started at a future date. This is only available for Broker users acting on behalf of Organizations, not directly to Organization users.
-
Enable License Keys: This provides a way to activate and manage license keys. When this is enabled, subscriptions need a license key to be activated.
-
External admins: This allows you to add a link to an external portal and for Cloudmore users to easily navigate to the external portal, straight from the Cloudmore interface.
-
Custom Properties: Custom Properties allows you to create custom fields. These custom fields can collect additional data at the point of adding the service by Broker or by Organization. The custom properties can also be hidden and filled programmatically as part of a service integration.
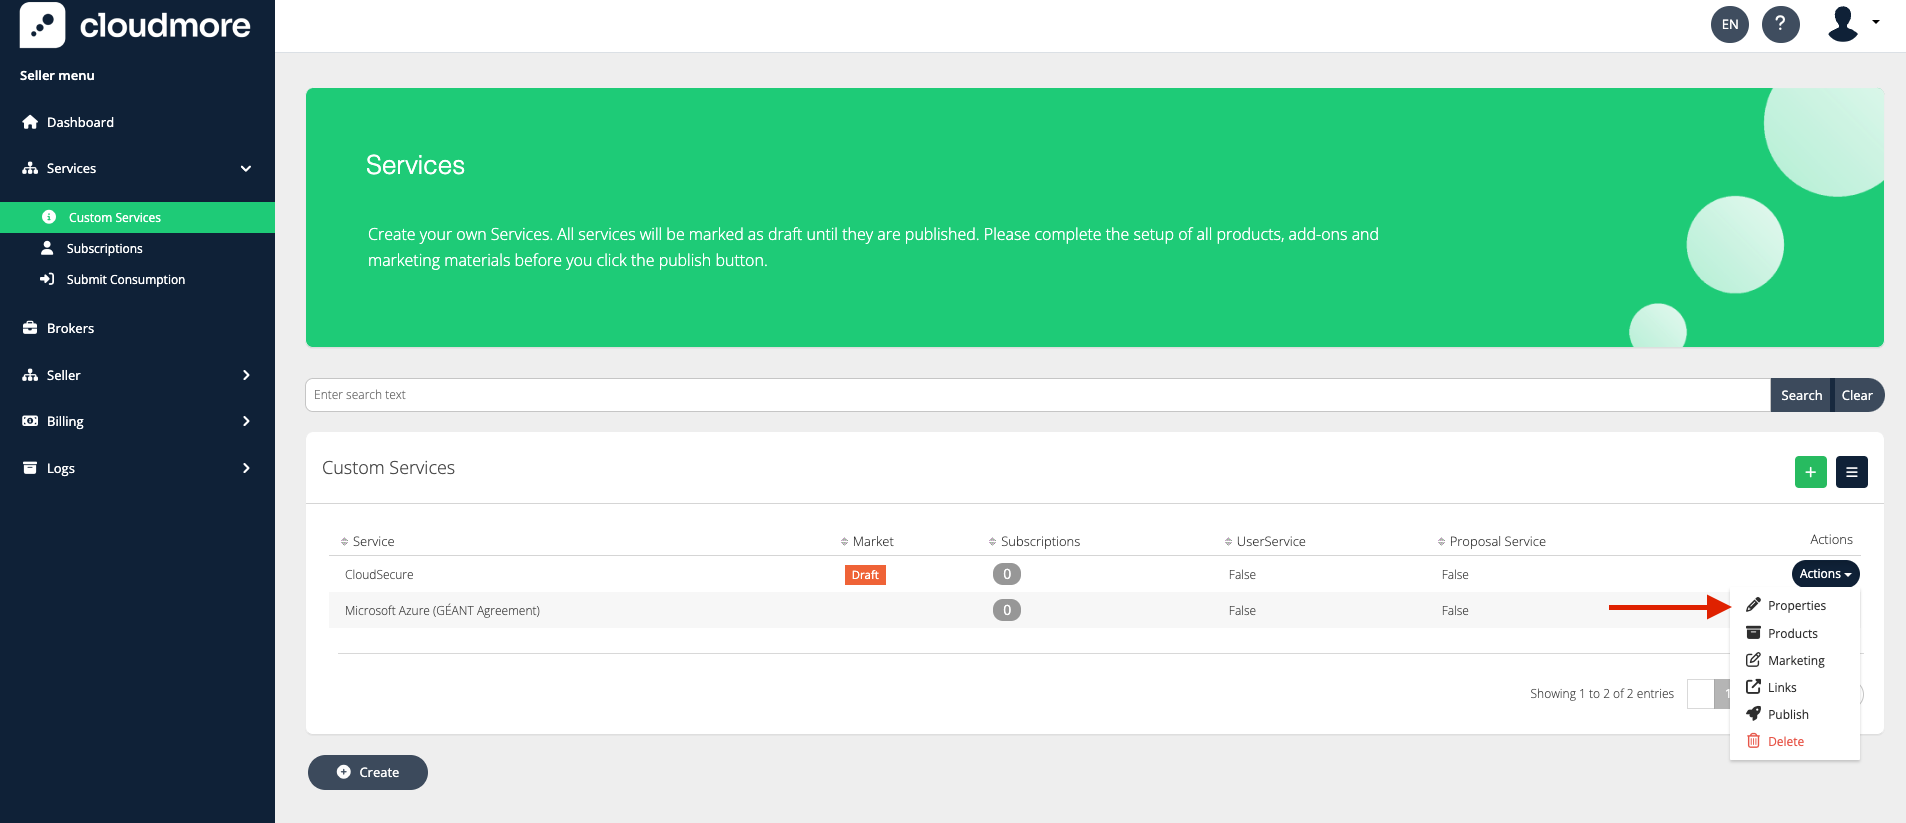
Edit Service
-
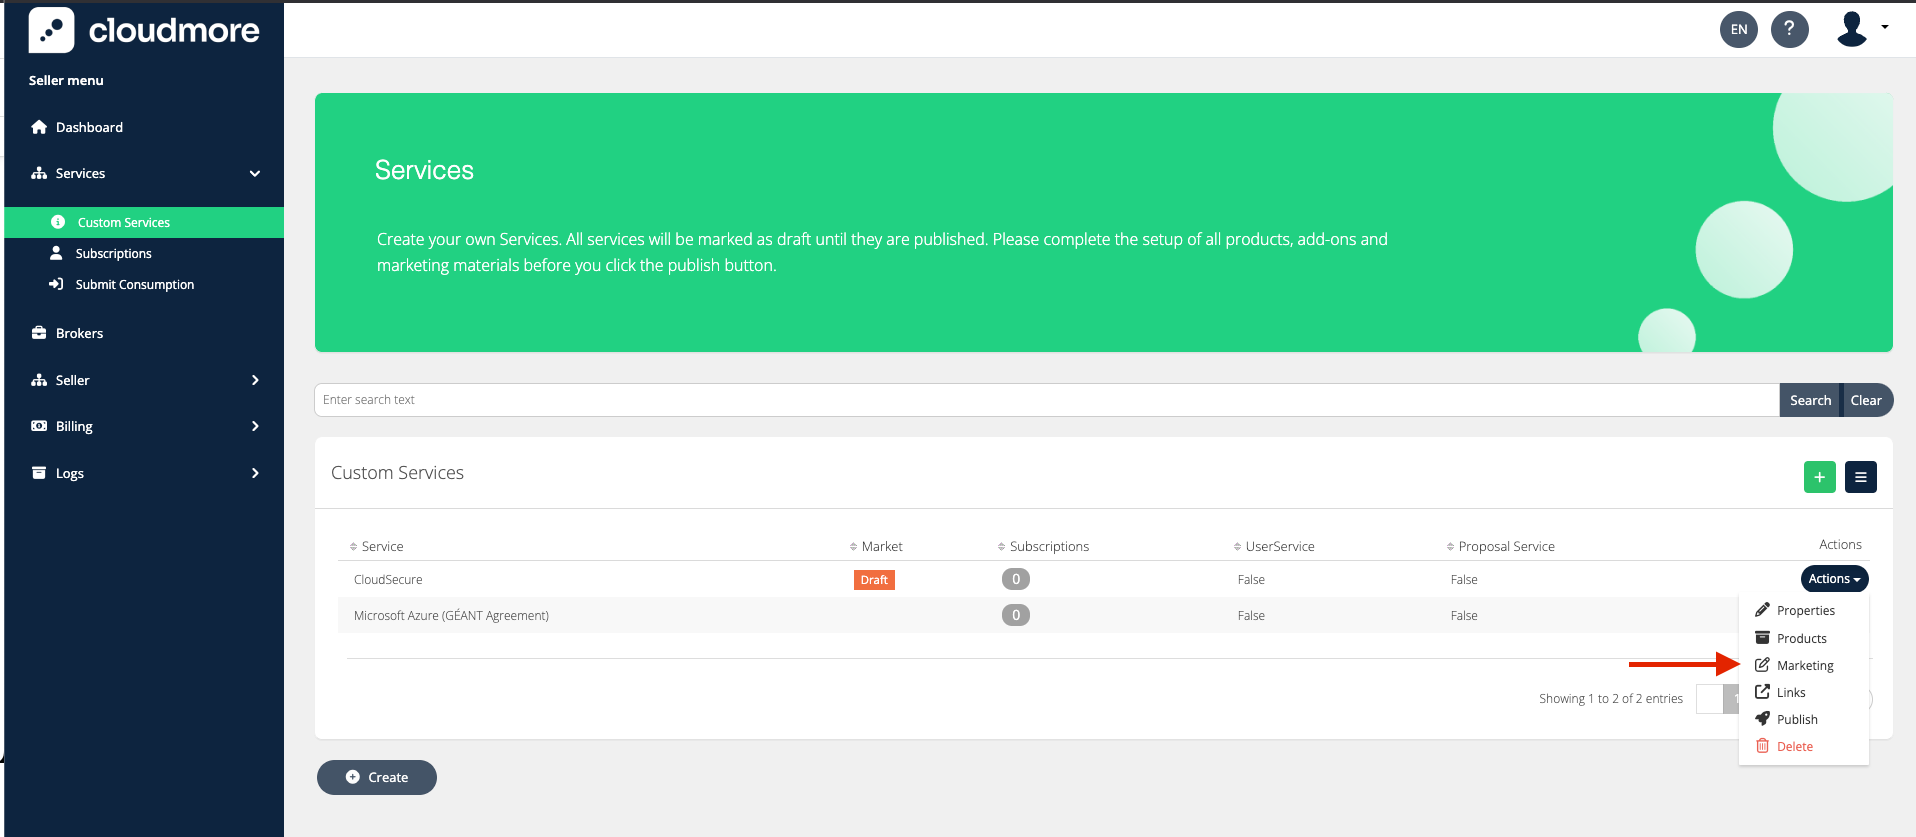
Click on the Actions icon to edit the Properties of a custom service.
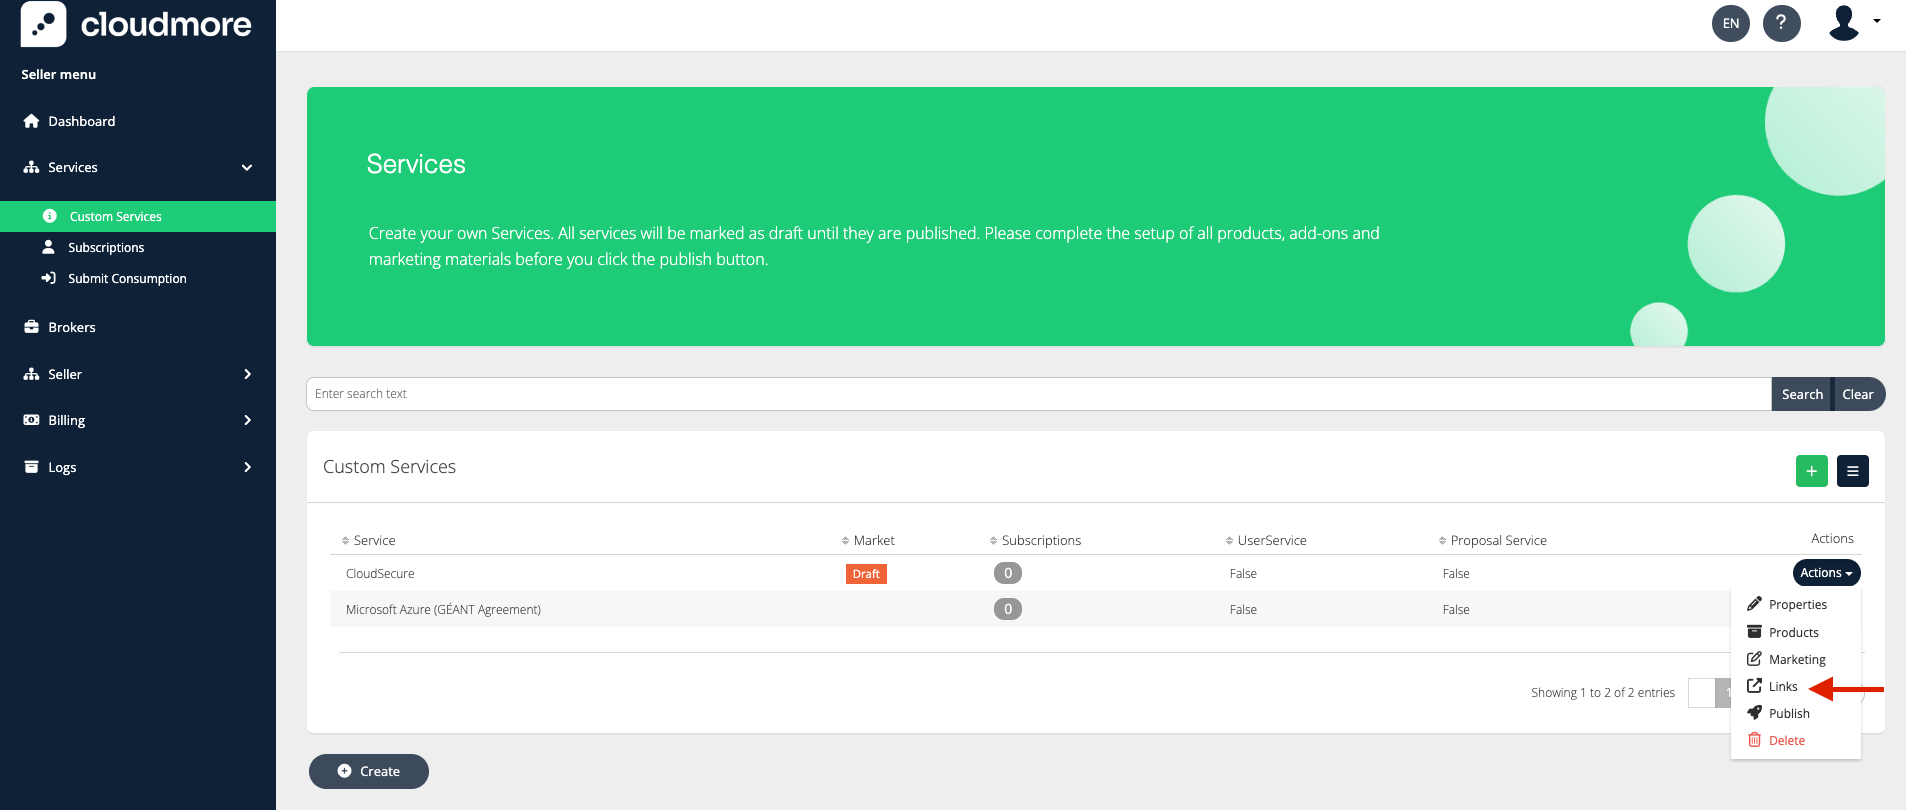
Service Links
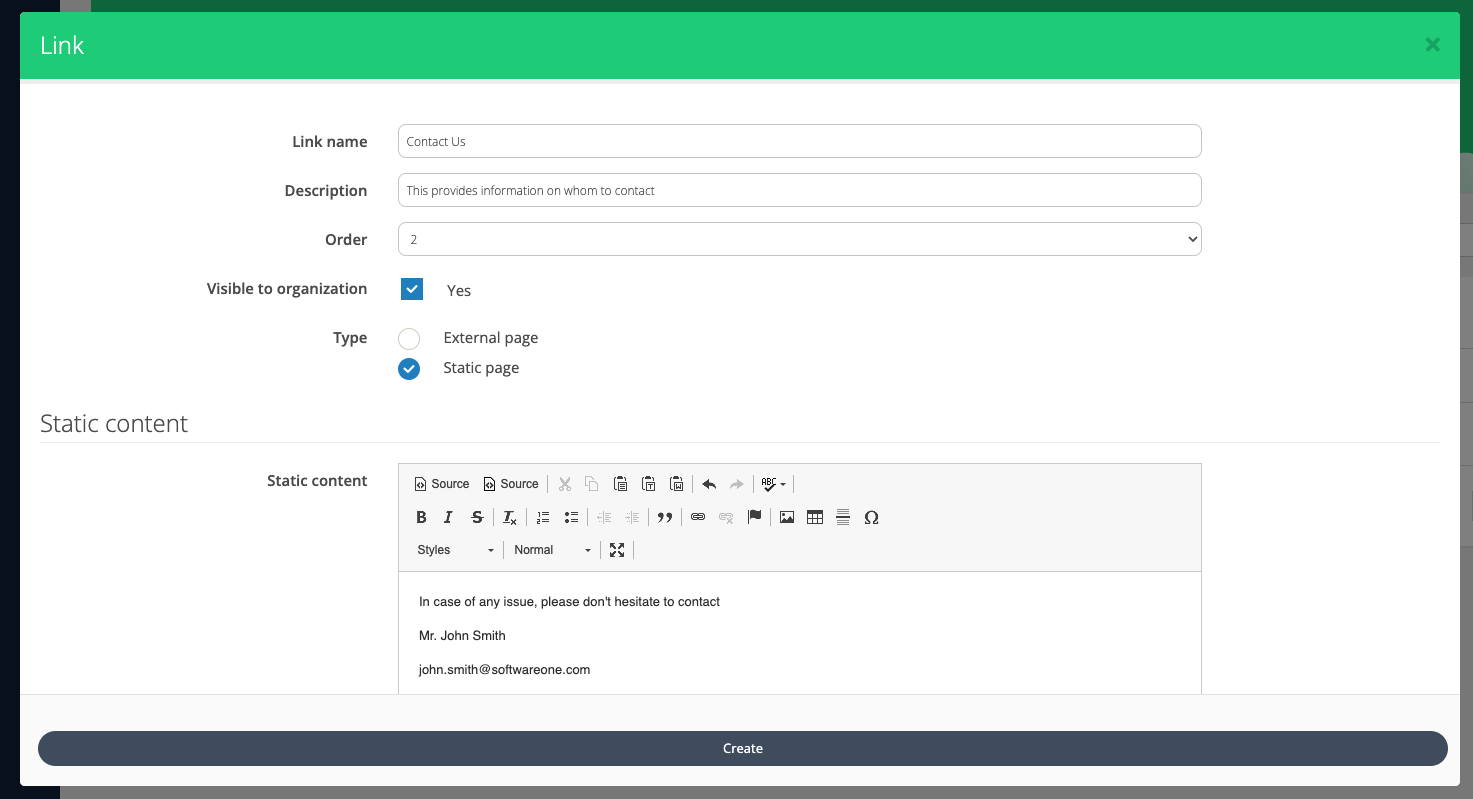
You now have the option to include three different types of links in the service information: an External Page Link, a Static Link, and an Iframe Link.
-
Click on Actions and then Links.
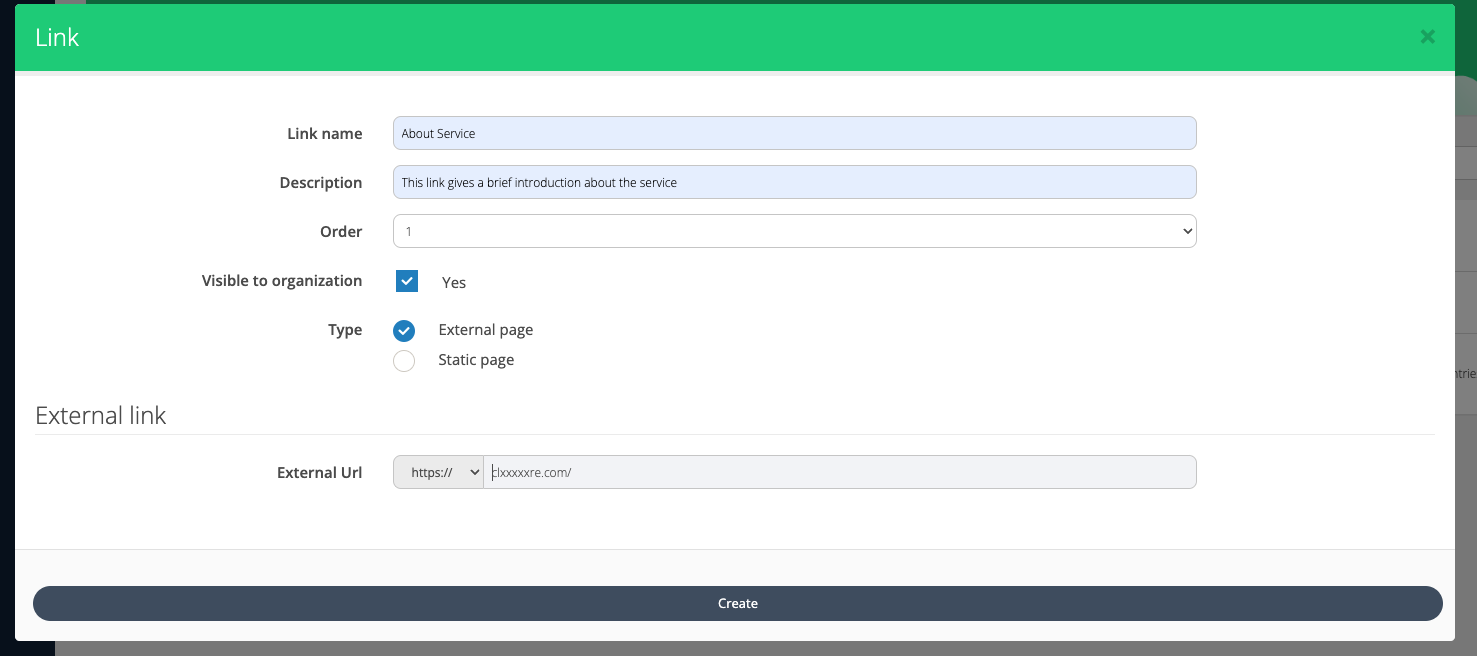
Important Terms Related to Links
-
External Page Link: Use this link when users need to access a page on another website or service, such as a web page, support page, or external control panel.
-
Static Link Page: This link displays WYSIWYG or HTML content within the Cloudmore platform, providing a convenient way to offer one or multiple pages of detailed information about the service or your service offerings.
You can set up external links for a service specific to each organization. This allows you to offer unique single-sign-on links or direct users to a particular customer page within an external system.
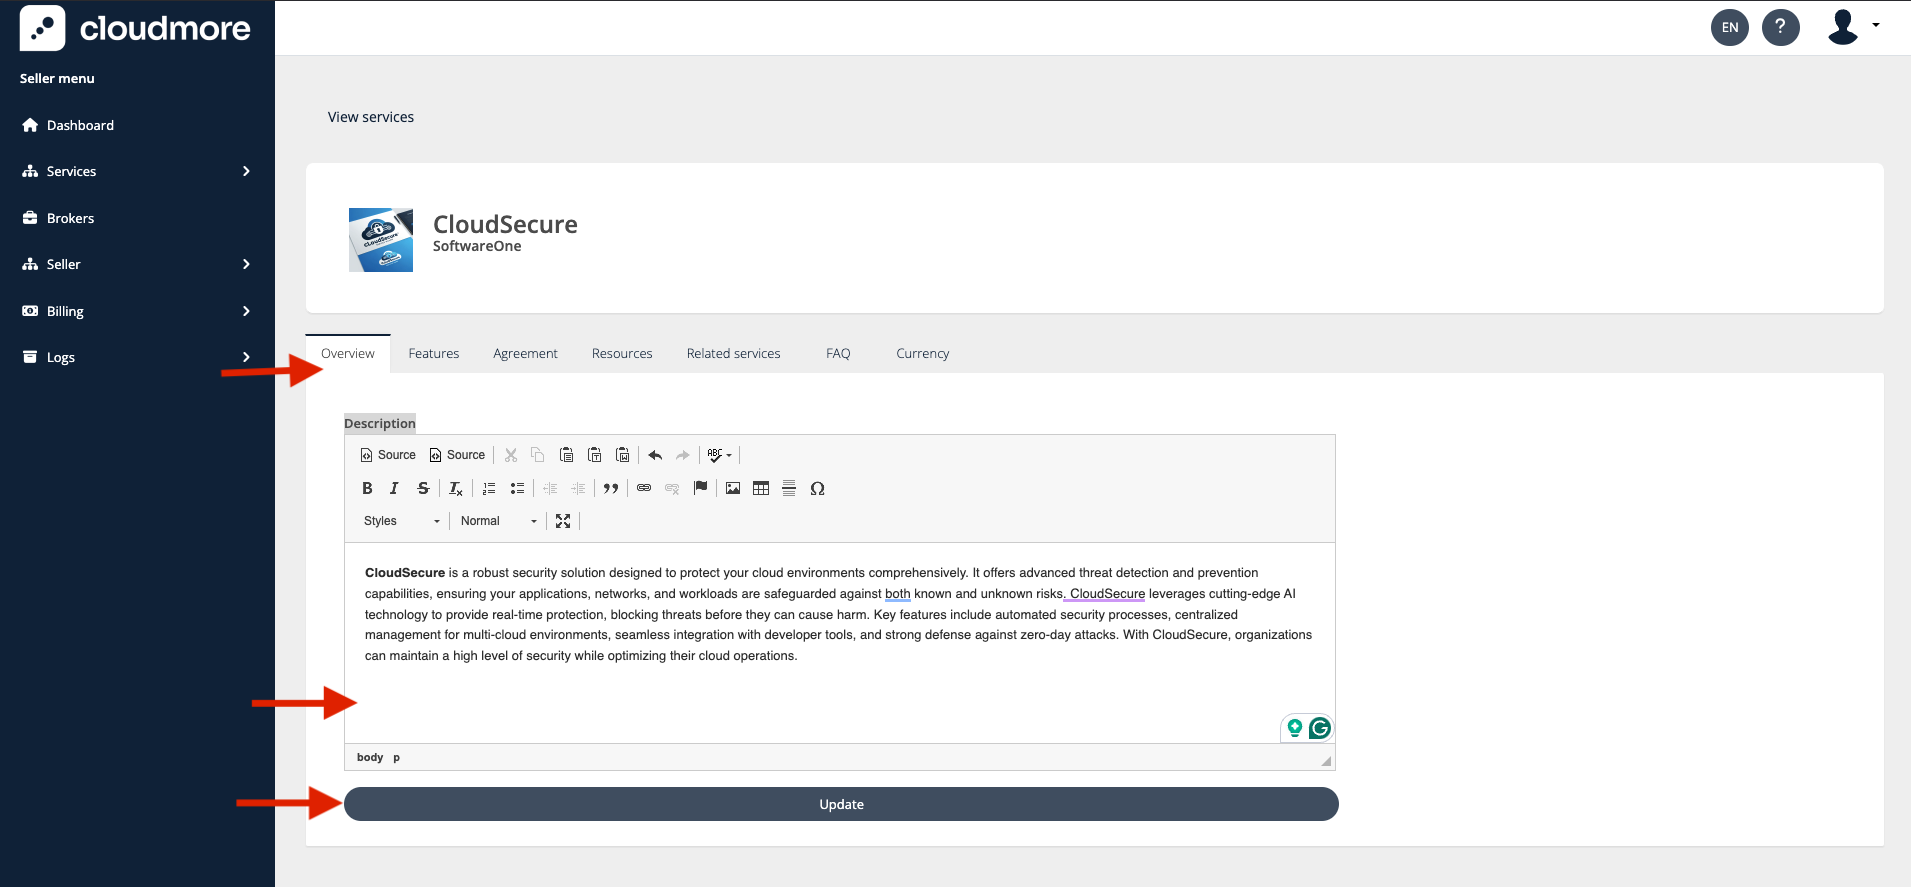
Setting Marketing Information
This helps your target customers discover and understand your services by including relevant sales and marketing messages, a summary of key features, links to additional resources, and answers to frequently asked questions.
-
Click on Actions and then Marketing.
-
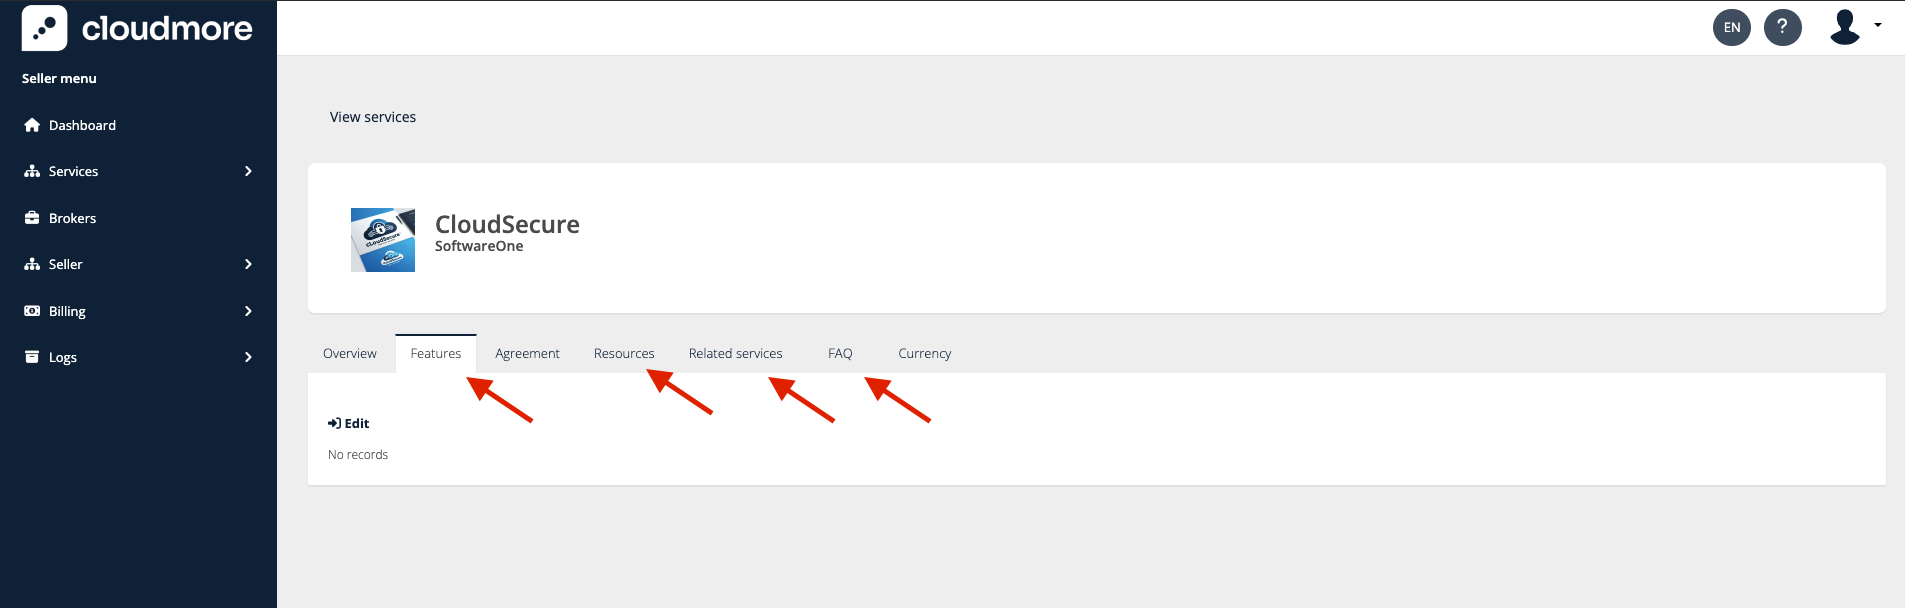
Click on Overview to provide an overview of the service and the click Update.
-
Similarly, you can add entries to Features, Resources, Related Services, and FAQ.
Publishing the service
Before you publish the service, make sure you have added all the products that you want to offer under this service. Read more about adding products and add-ons.
-
To publish a service, Click on Action and Publish.
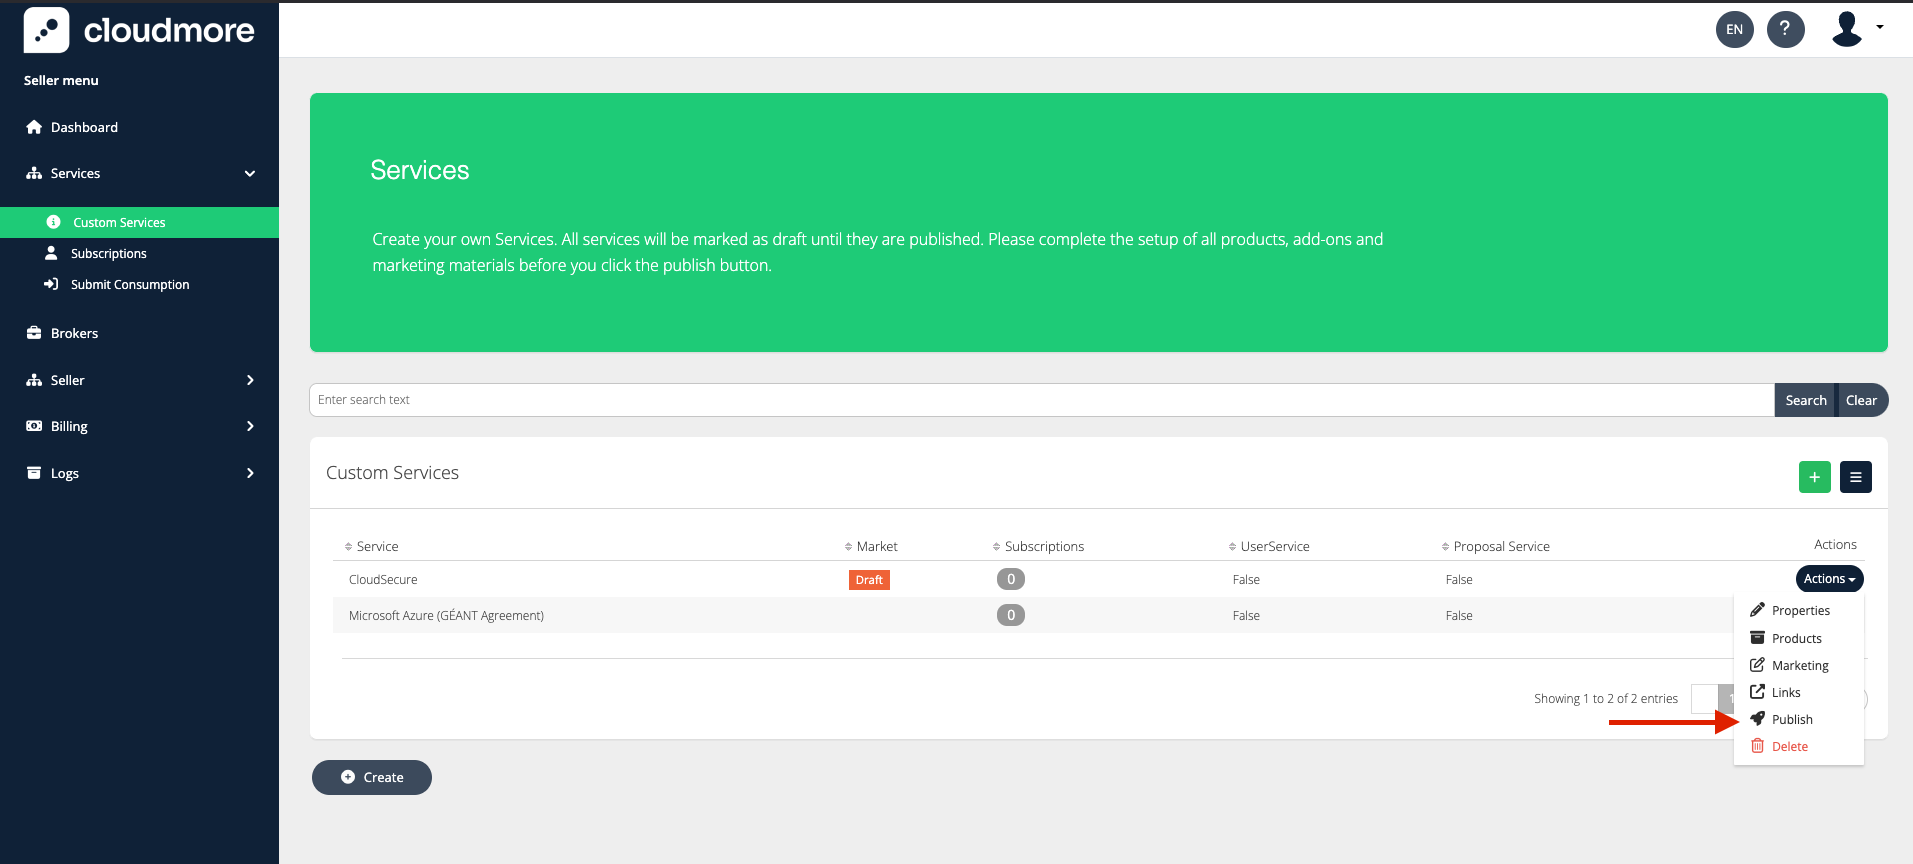
-
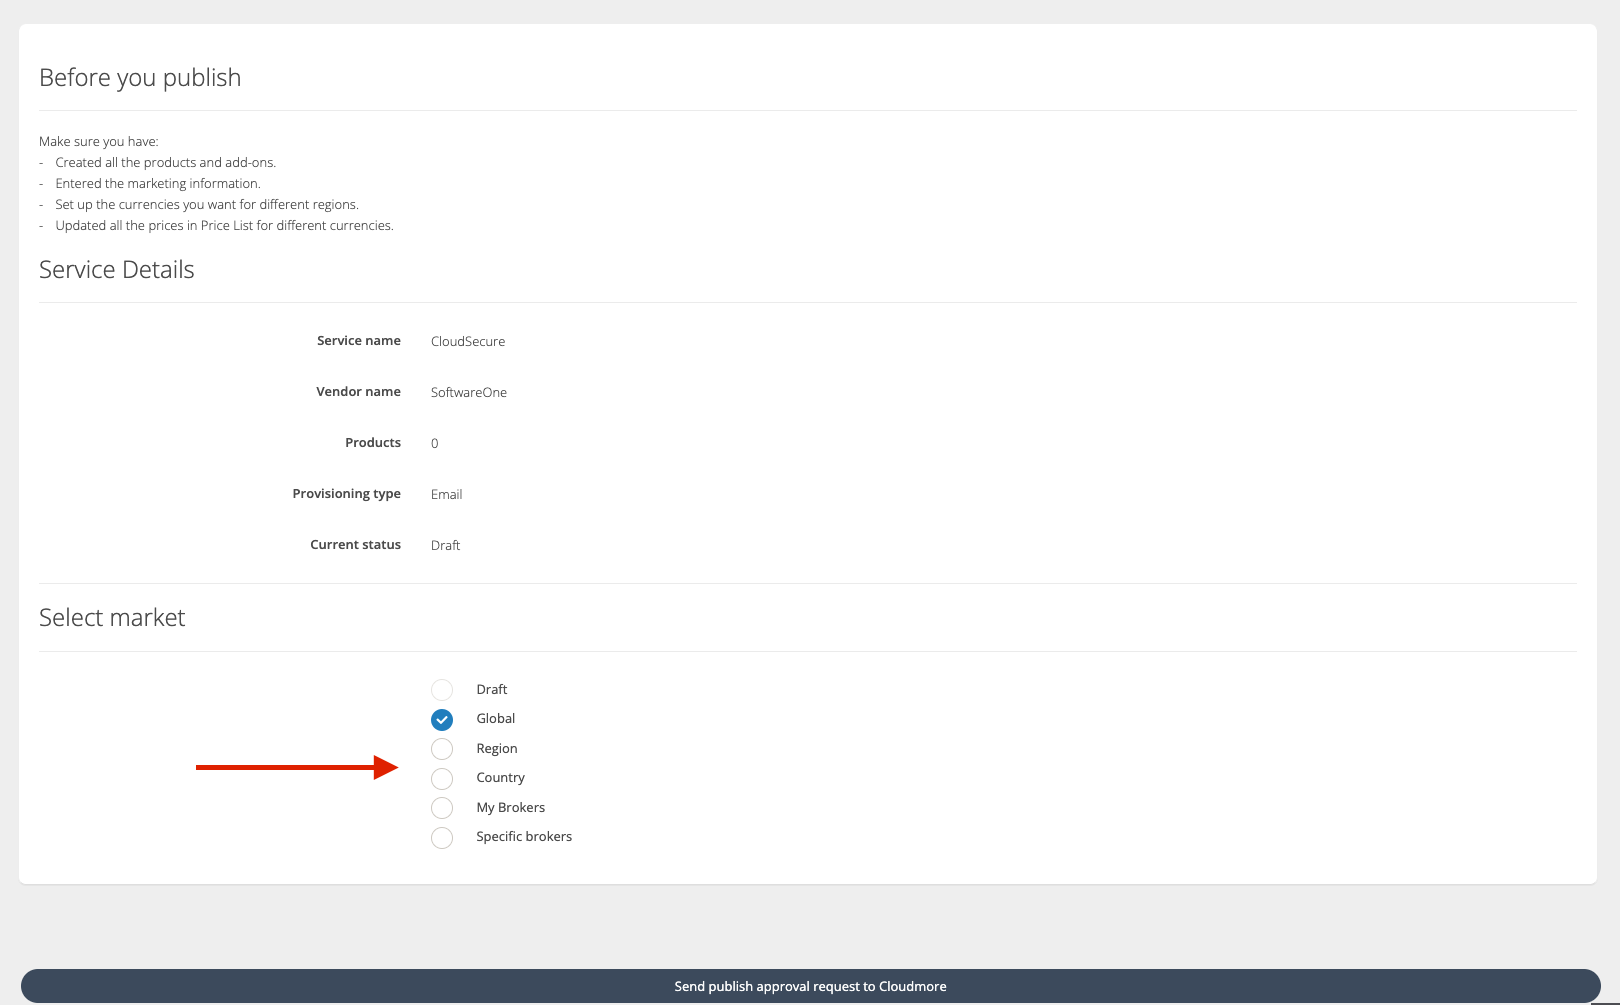
Verify that the service information is correct. Additionally, choose the market option to publish the service to specific brokers or make it available to all brokers.
The various markets where the service can be made available are explained as follows
-
Global - This enables the service to be available to all the brokers on the platform. Use this if you are a vendor.
-
Region - This enables the service to be available to the brokers belonging to the specified region(s).
-
Country - This enables the service to be available to the brokers belonging to the specified country(s).
-
My Brokers - This enables the service to be available to all the brokers under the seller.
-
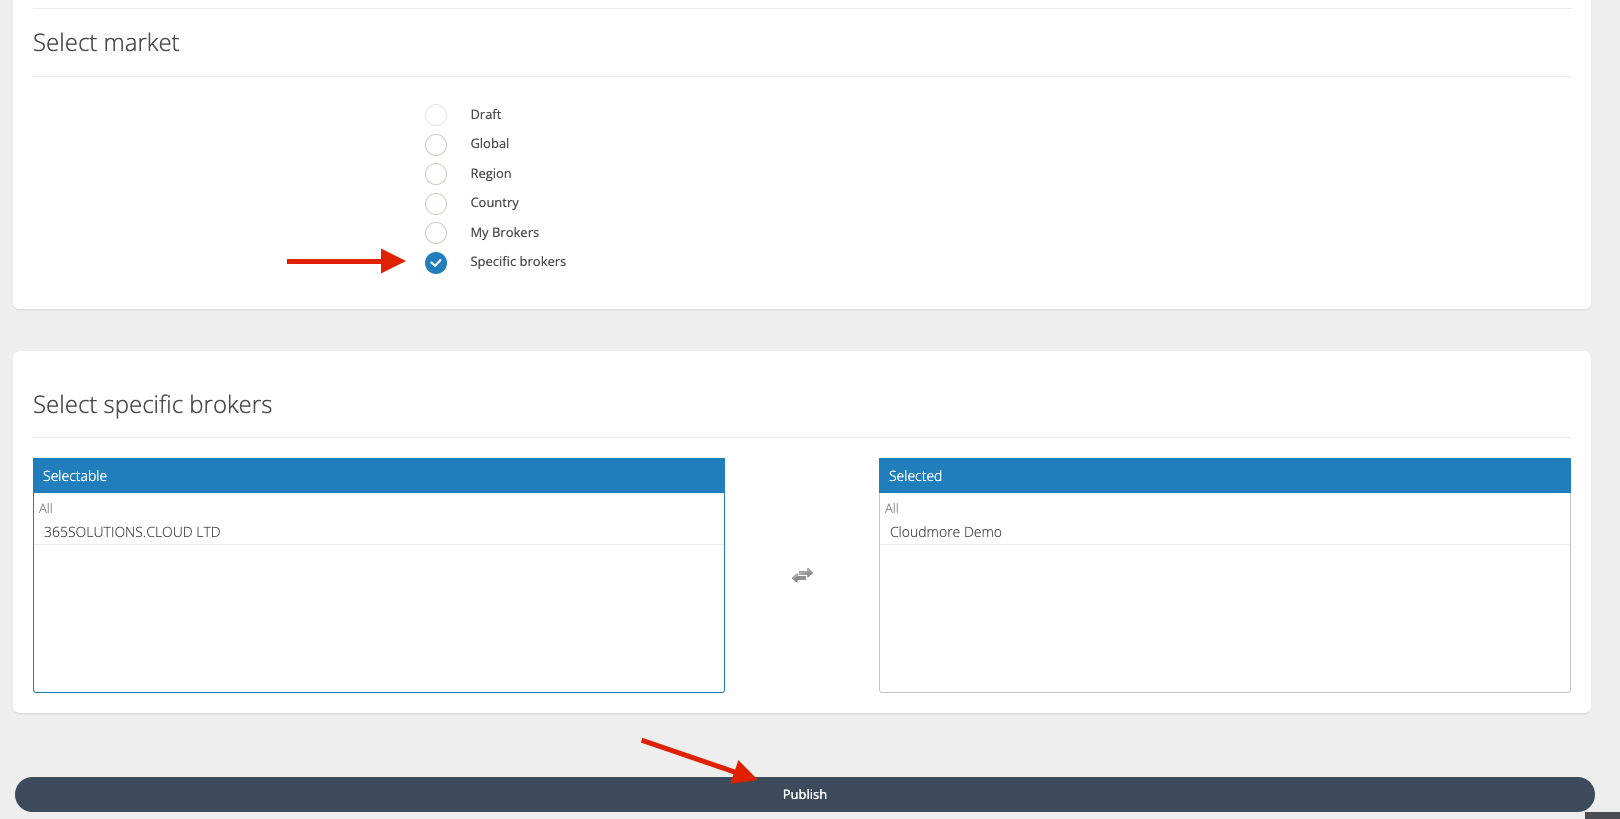
Specific Brokers - This enables the service to be available to the specified brokers under the seller. Use this if you are a Broker acting on Seller level.
-
It is recommended to use “Specific brokers” while publishing the service. This gives you the option to select the brokers for whom the services should be visible.
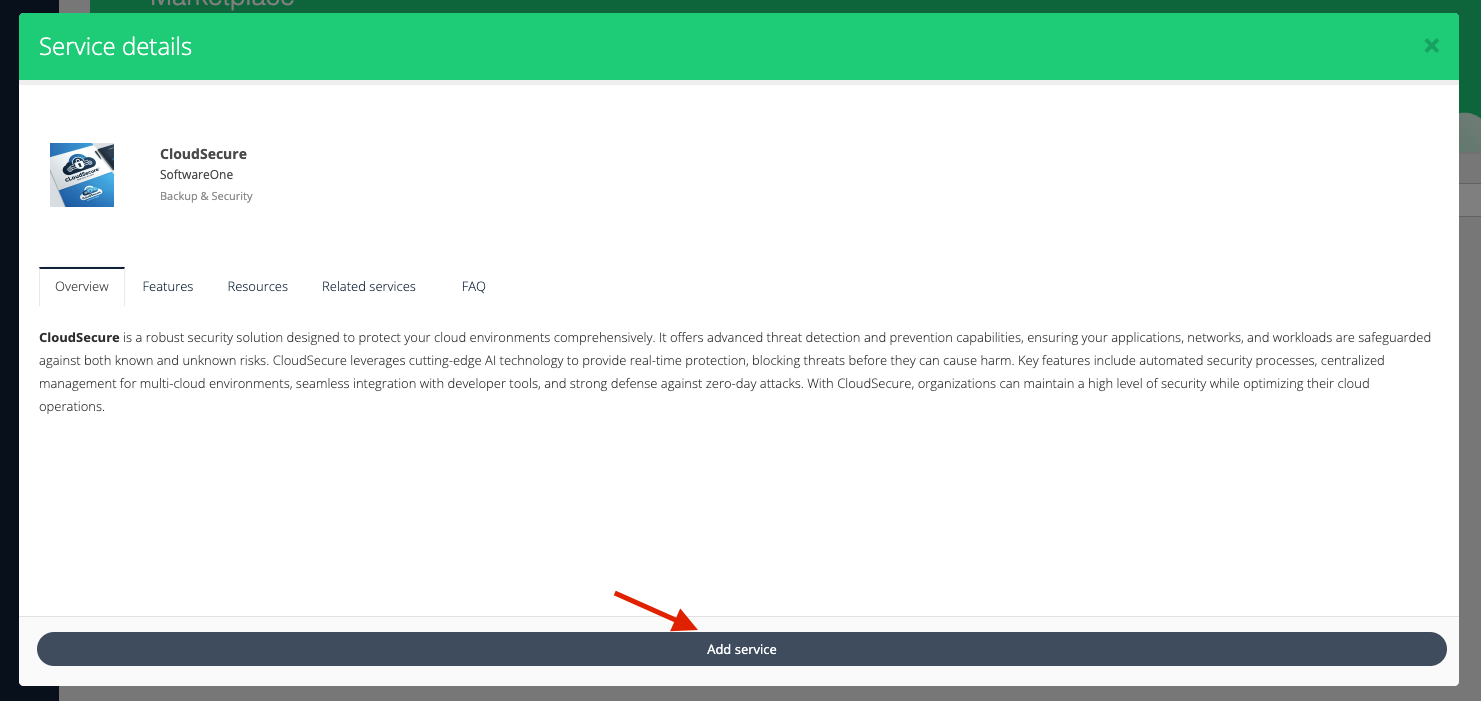
Adding service from Marketplace as Broker
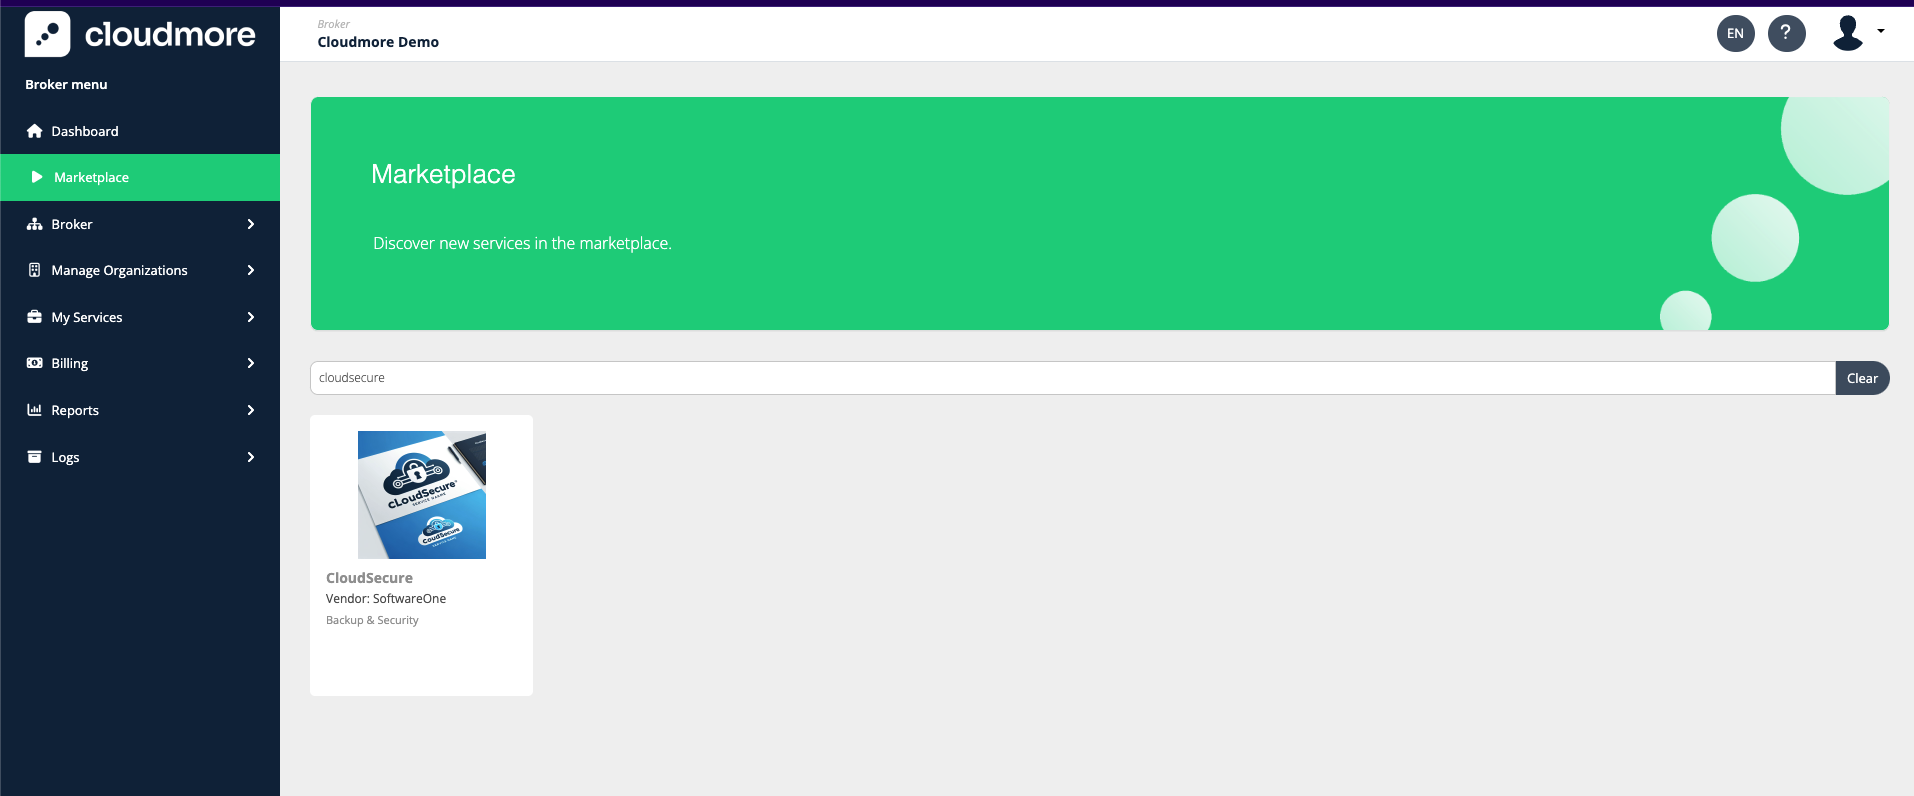
Once the service has been published on the Seller level, it will become available to the corresponding Brokers on their Marketplaces.
To add a service from the marketplace as a Broker, follow these steps.
-
Log in to the Broker account.
-
Navigate to Marketplace and search for the required service.
-
Click on Add Service to complete the process.
-
After adding the service, the broker admin(s) can manage the pricing and available currencies for the service on the Broker level.