Overview
As a broker, you can add extra properties to user or organization records, allowing you to utilize this data for reporting and analysis.
Cloudmore enables you to create custom fields for users or organizations, letting you store additional structured data alongside these records.
You can add one or more custom fields to enhance the information stored with users or organizations.
Purpose
These custom properties can either be hidden data used to provide additional information or to collect data at the point of purchase, which is then stored with the subscription.
Steps Involved to Create Custom Properties
-
Log in to Cloudmore
-
Navigate to Broker > Settings > Customer Custom Properties.

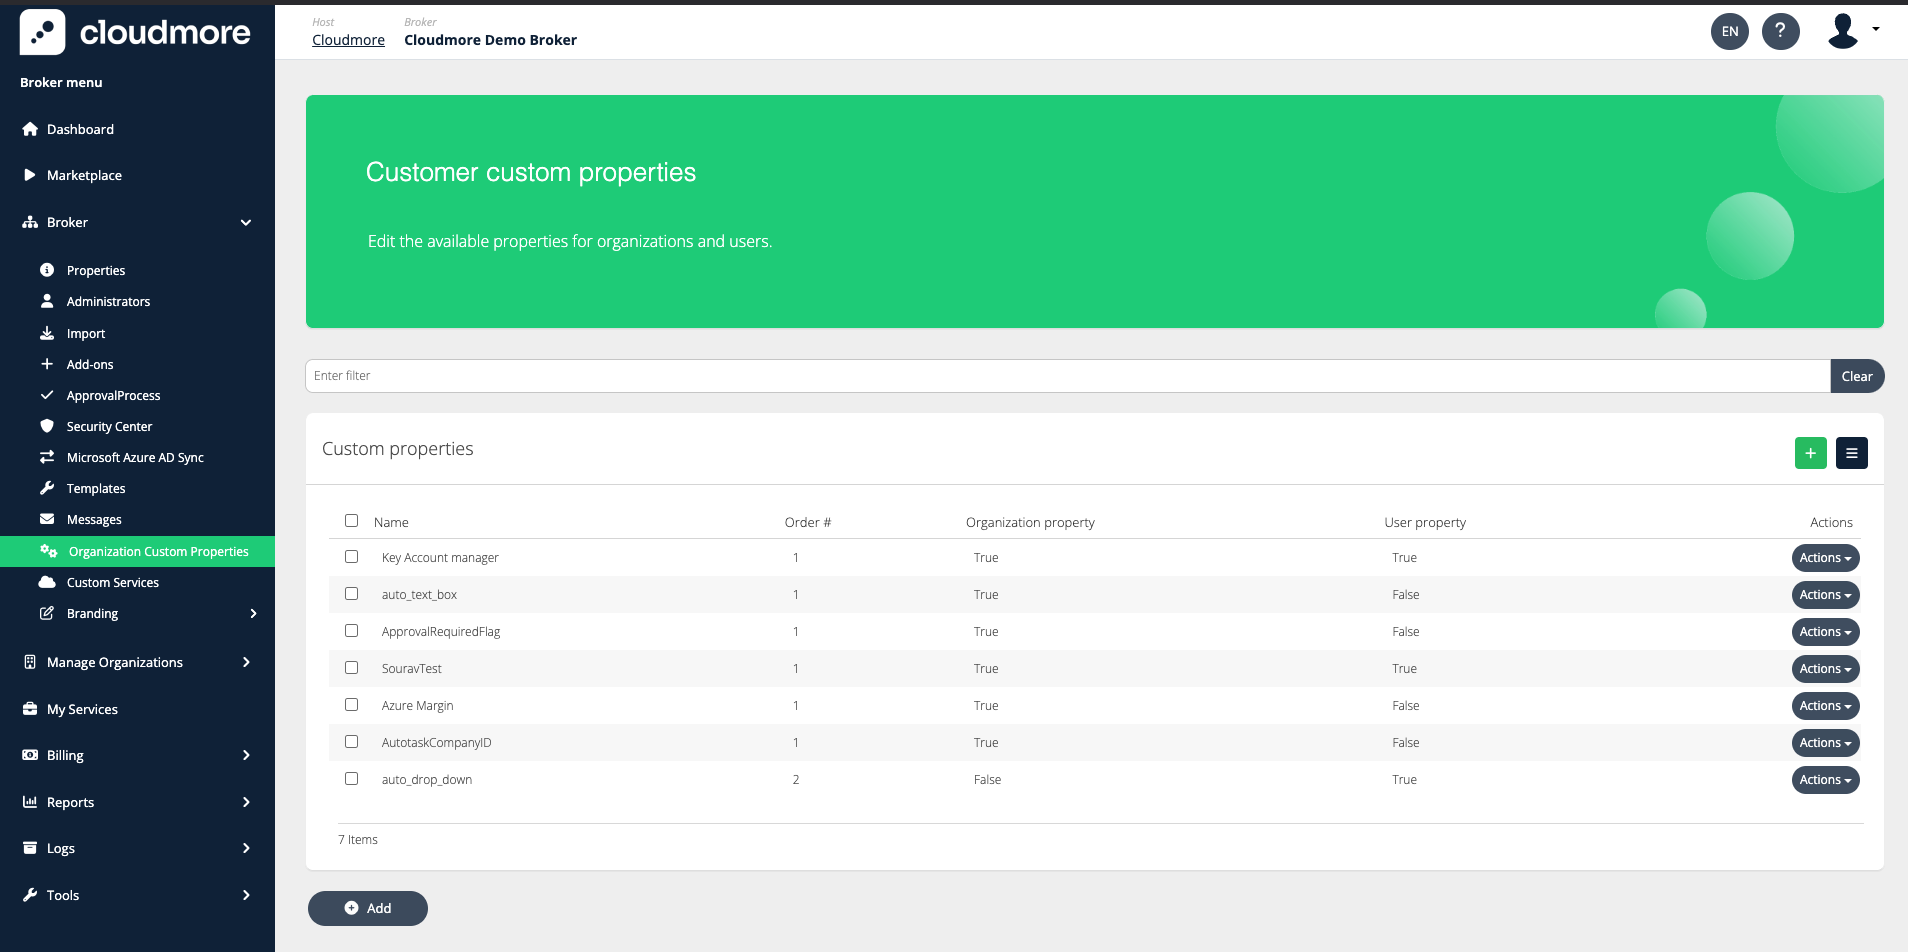
Click on the Add button to add a new custom property.
-
Fill in the fields displayed on the screen. The fields may differ based on the type of input.
-
Type - Type of input, either a text box or a dropdown list
-
Name - Name of the custom property
-
Default Value - Allows you to set a pre-defined value
-
Order - You can specify the order in which these custom fields appear.
-
Organization Property - To create a Custom Field in all organization records
-
User Property - To create the Custom Field in all user records
-
Visible to Organization Users - Makes the property visible to organization users when viewing their Organization details if it's an Organization Property or User details if it's a User Property.
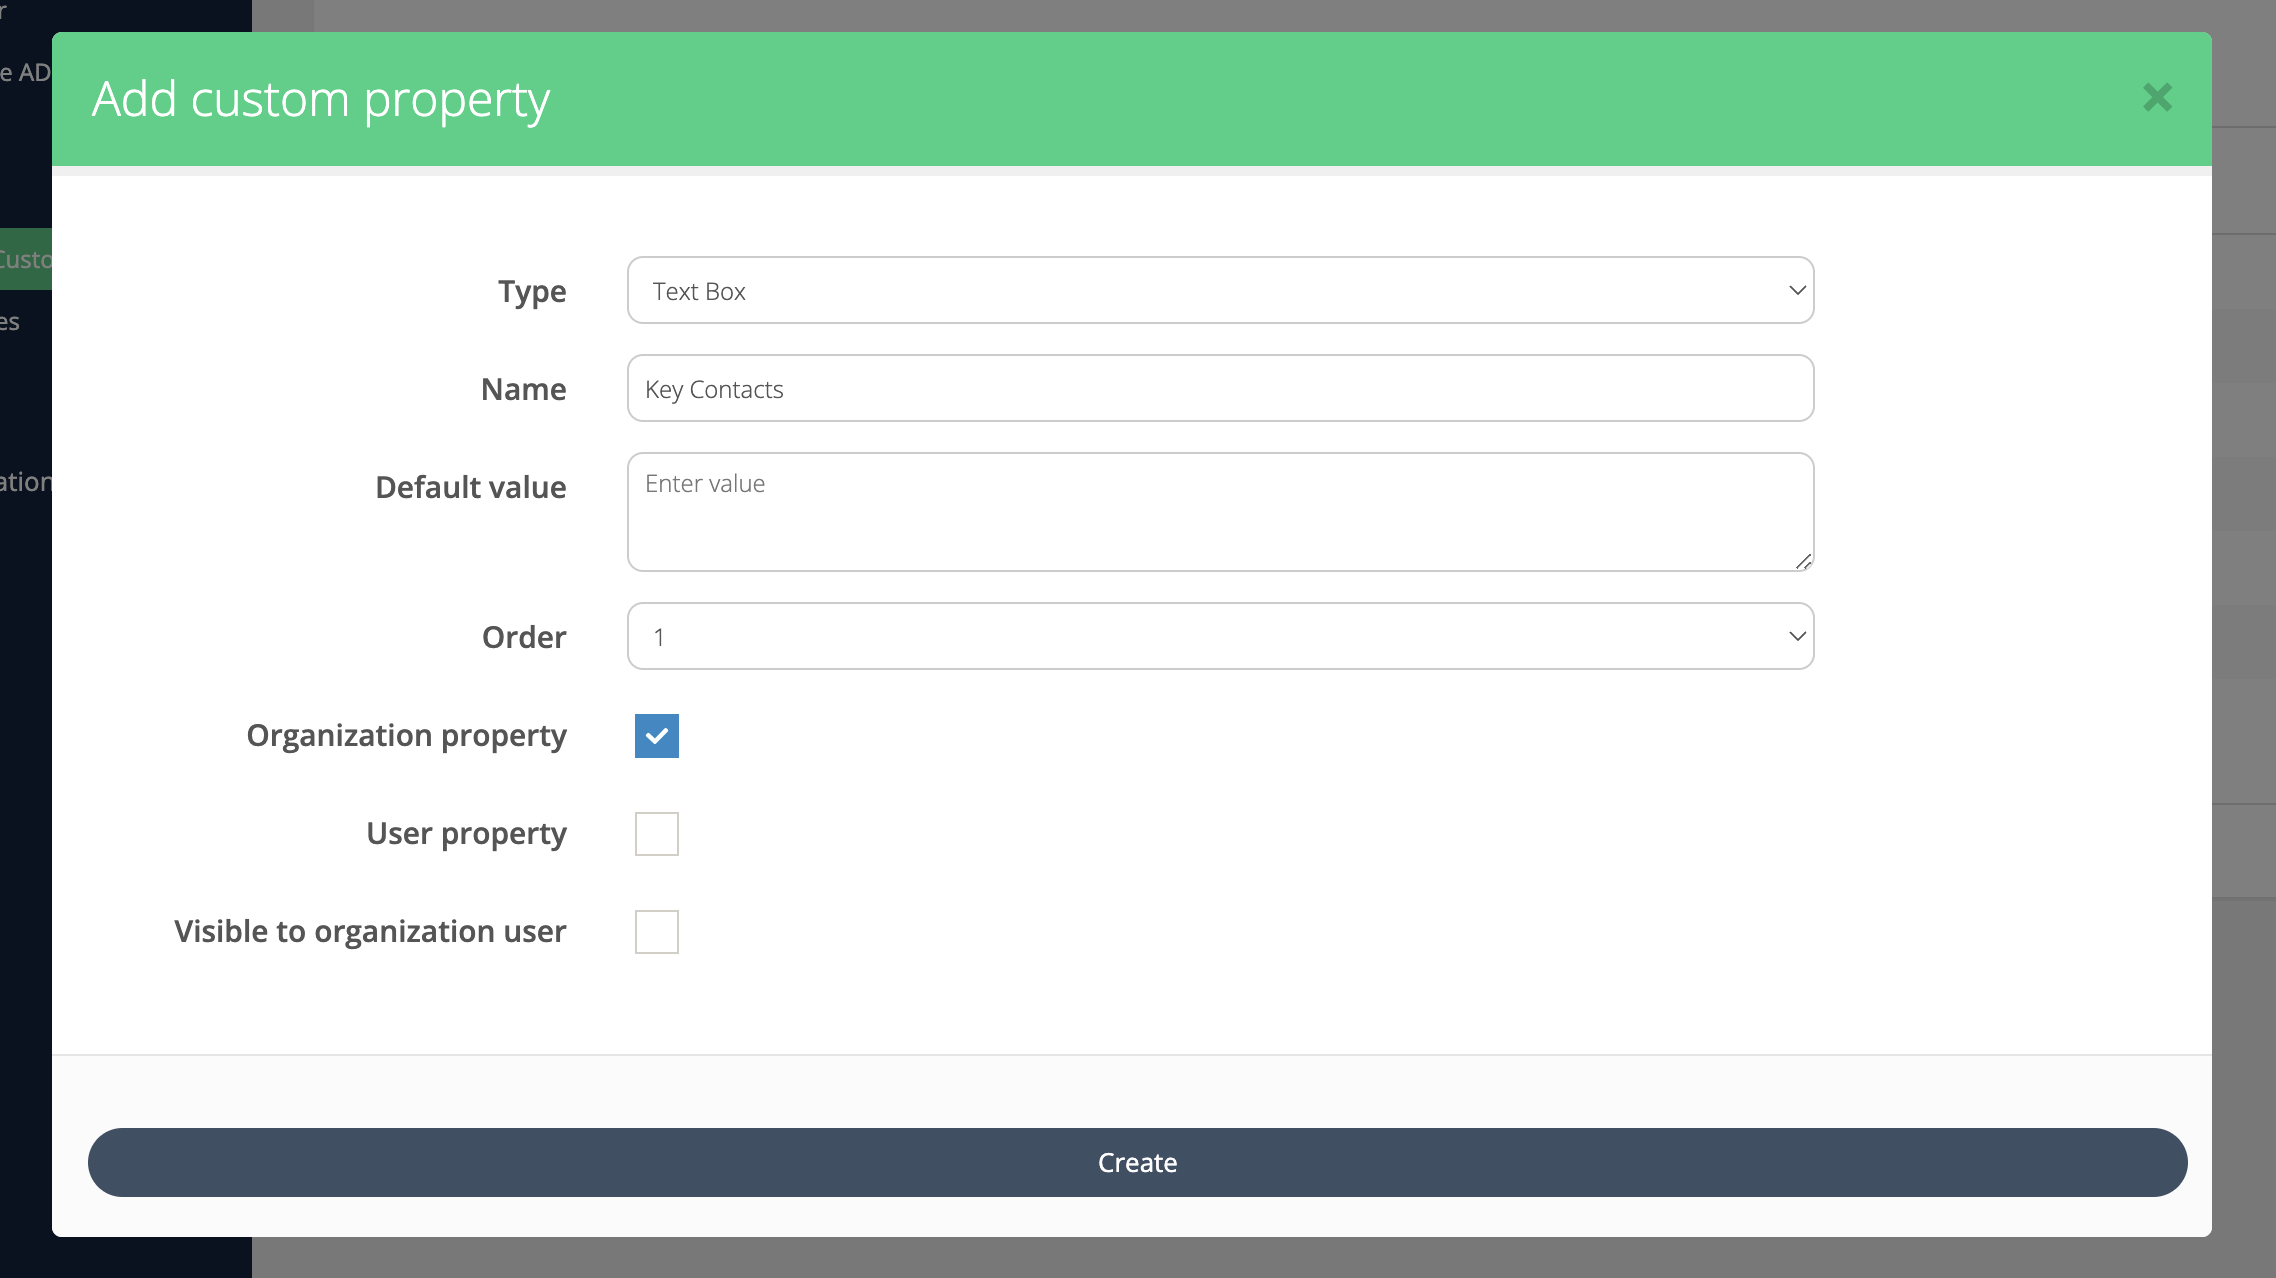
Custom Property - Text Box 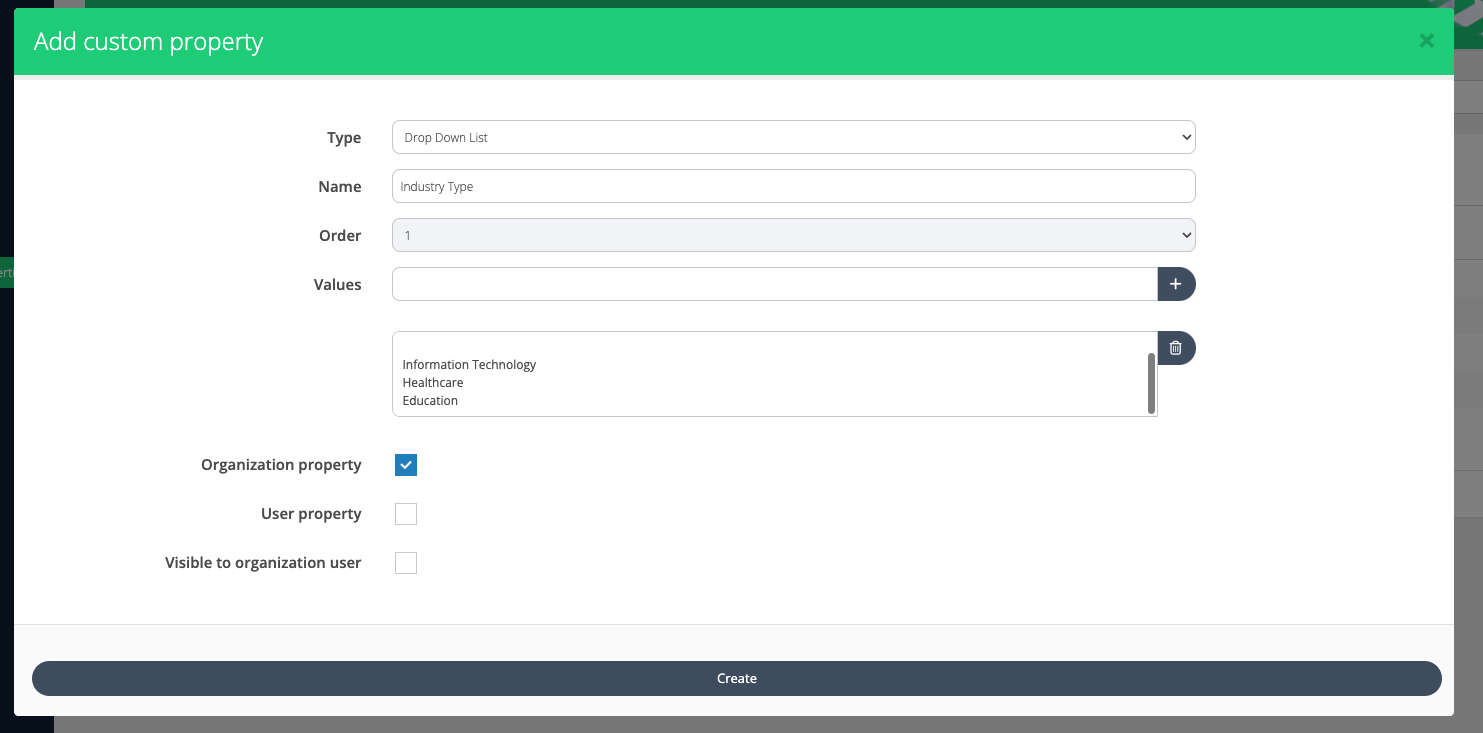
Custom Property - Drop-down List
-
Applications of Custom Property Fields
Custom property fields can be included in various reports and exports within Cloudmore. Here are some key areas where they can be utilized
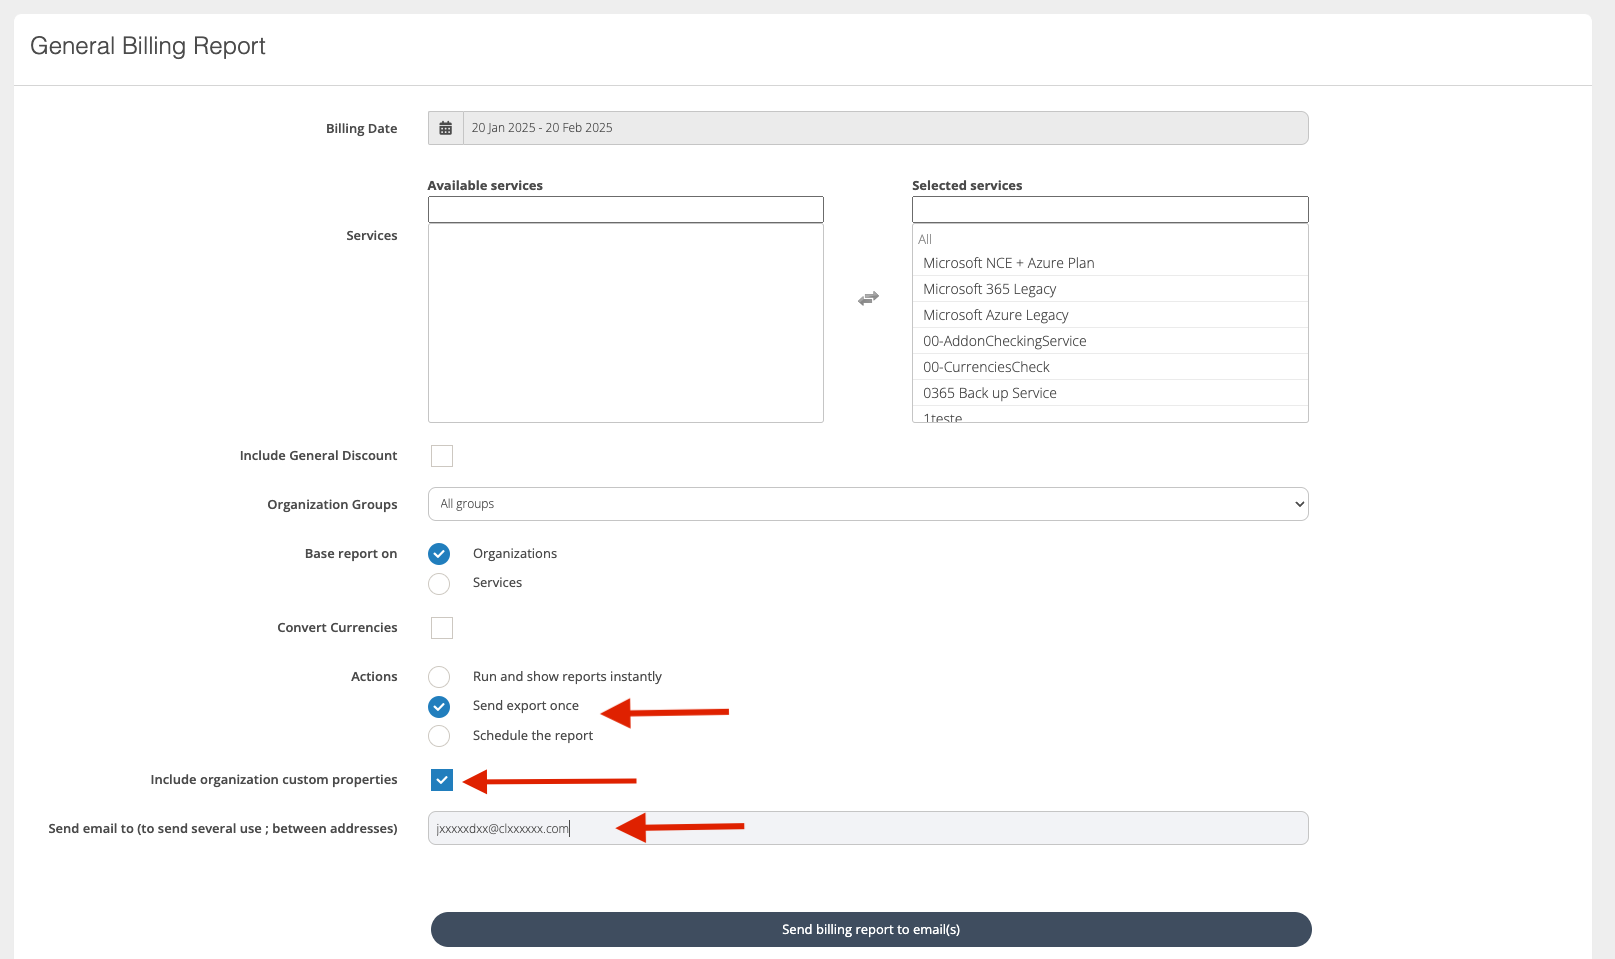
General Billing Report
-
Navigate to Billing > General Billing Report
-
Choose the necessary date range, services, and any other required options.
-
Choose to schedule the report or send export once from the Actions menu.
-
Choose the Include organization custom properties option.
-
Add the required email address(es).
-
Click Send billing report to email(s)
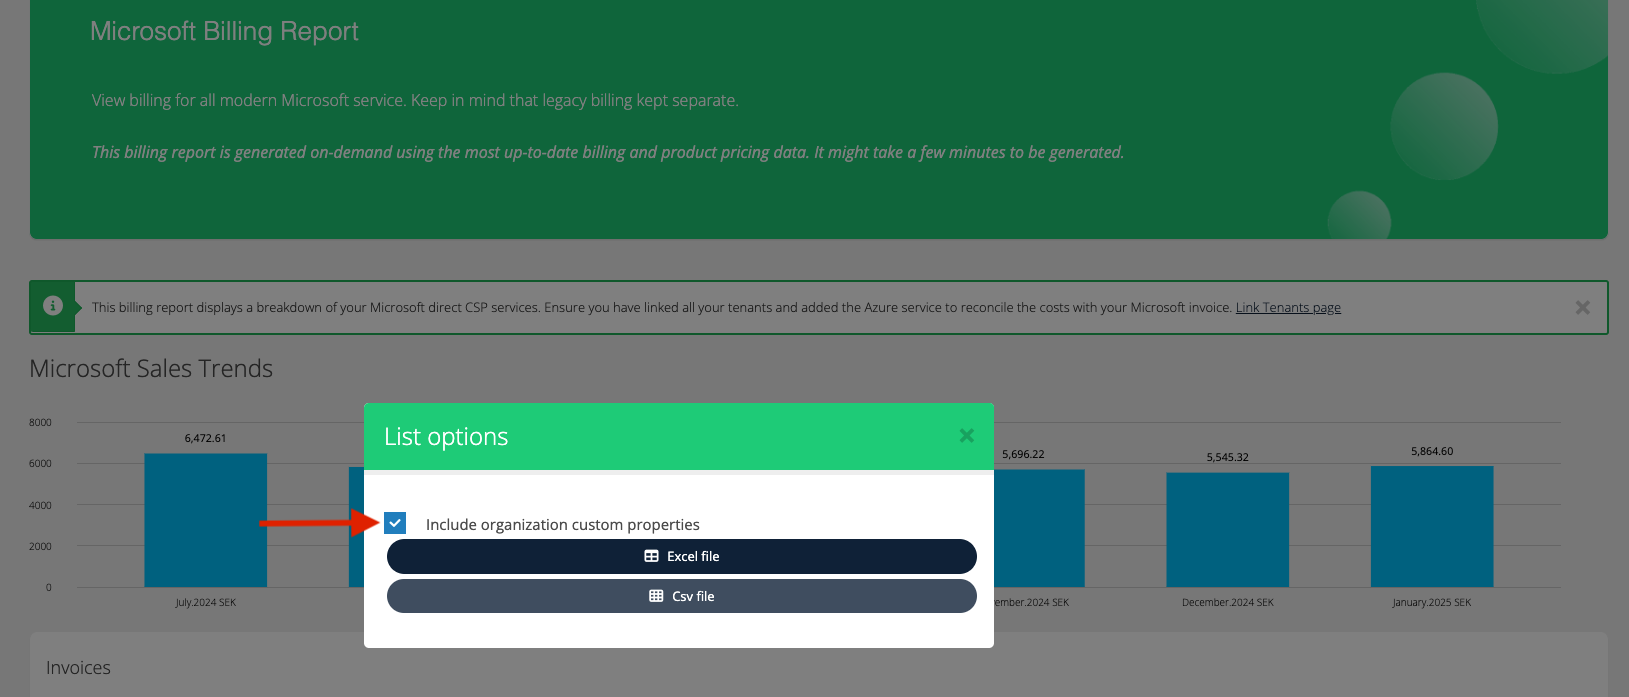
Microsoft Billing Report
-
Navigate to Billing > Microsoft Billing Report
-
Choose the required invoice and click Actions.

-
Click on Download
-
Check Include organization custom properties and then select the required export file format.
-
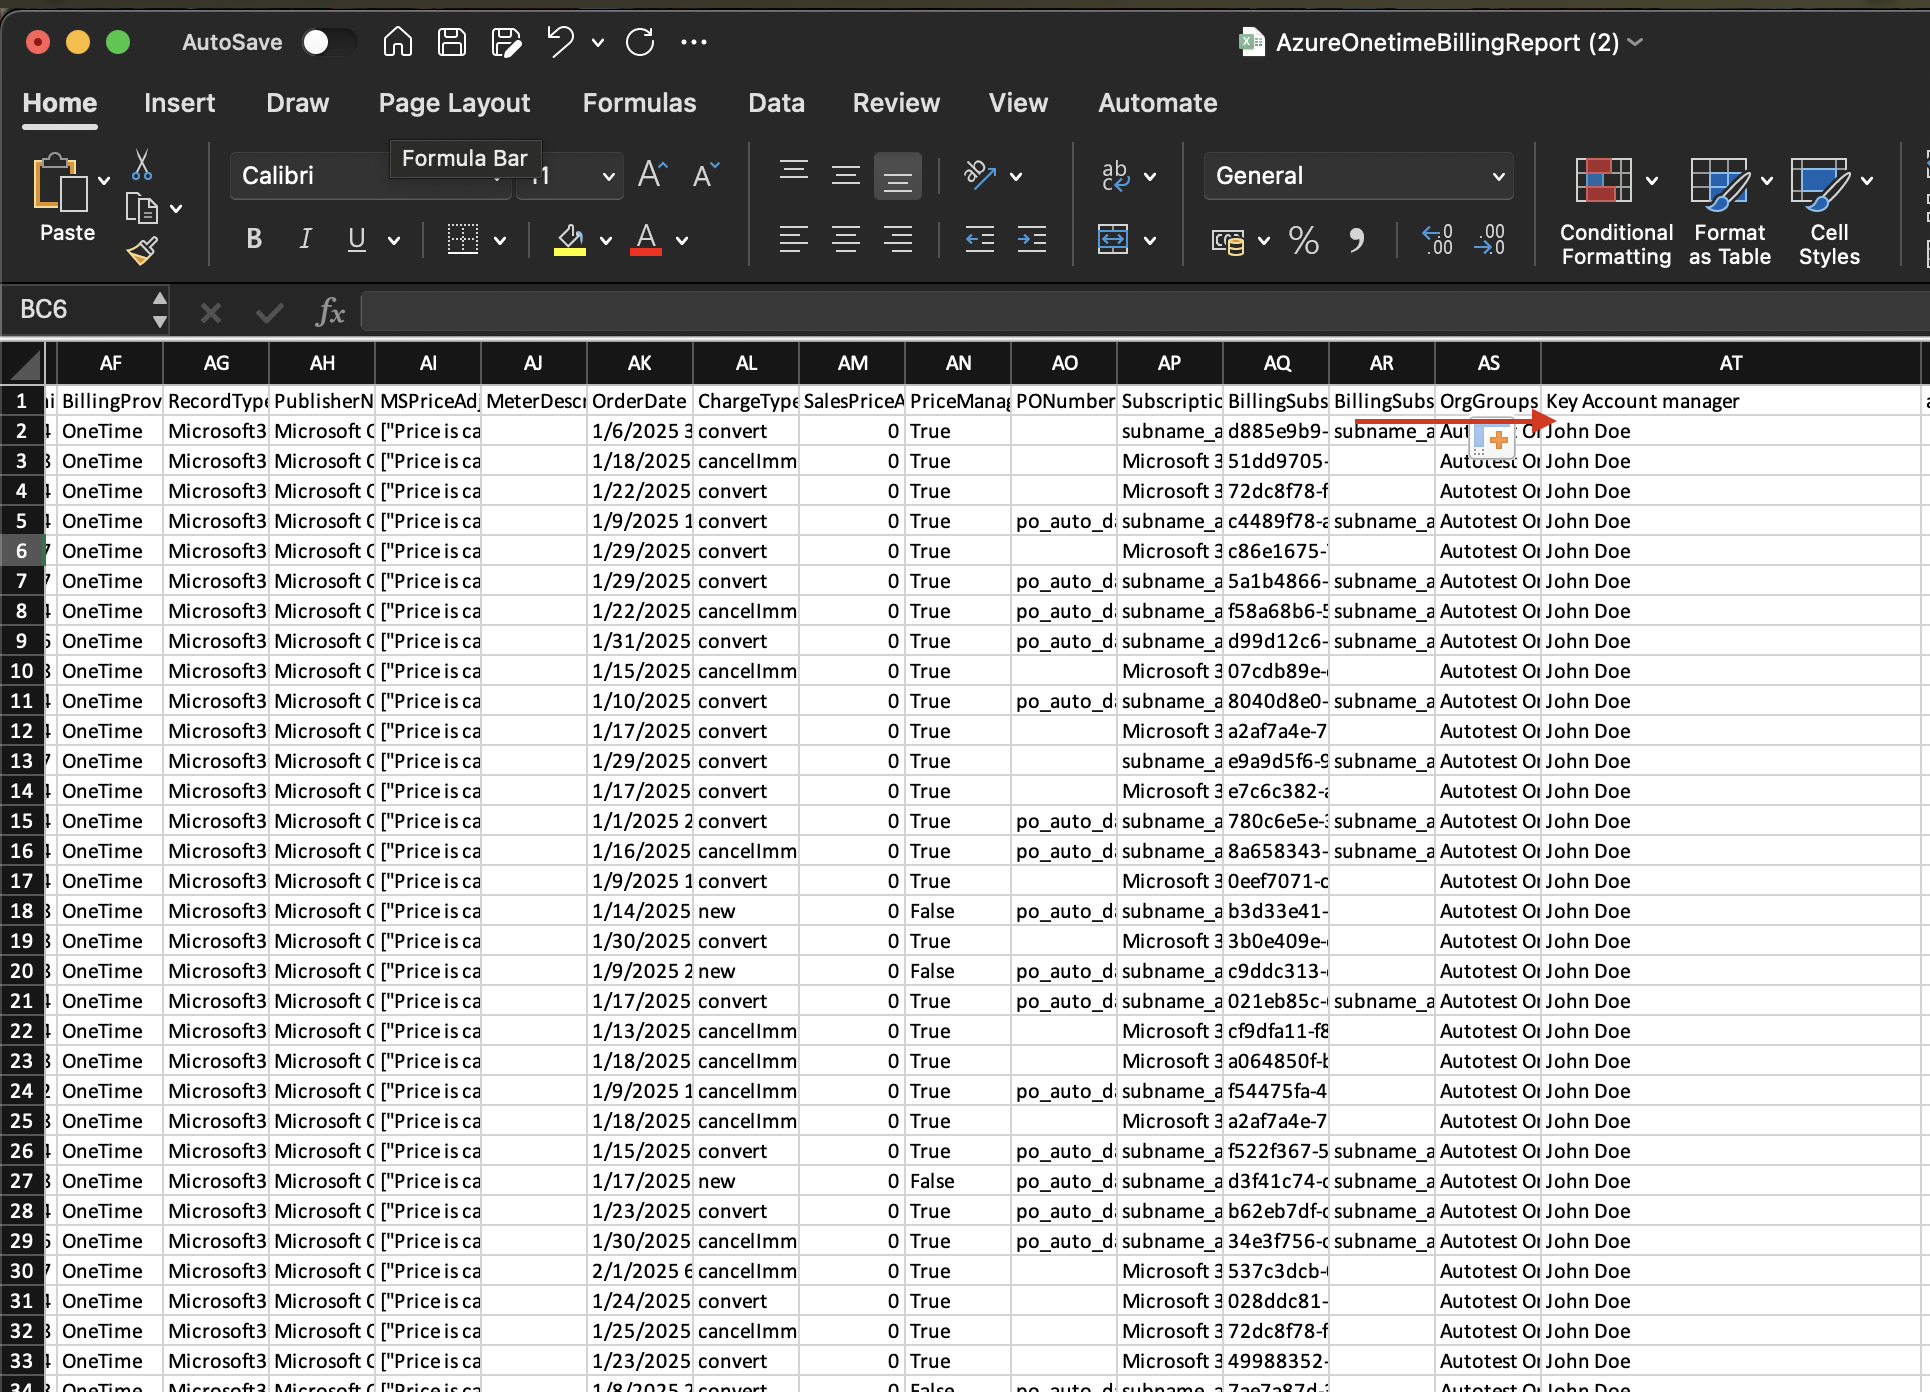
The file downloaded will contain the custom properties you created.
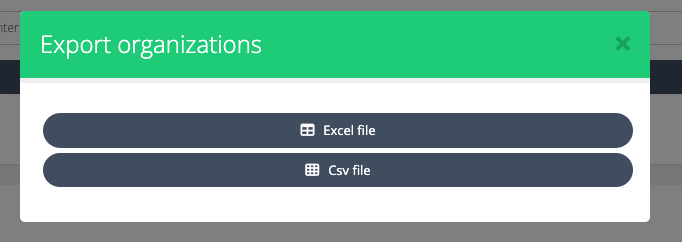
Organizations export
-
Navigate to Manage Organizations > Organizations.
-
Click the Download button located on the center-right side of the screen.

-
Click on the required export file format.
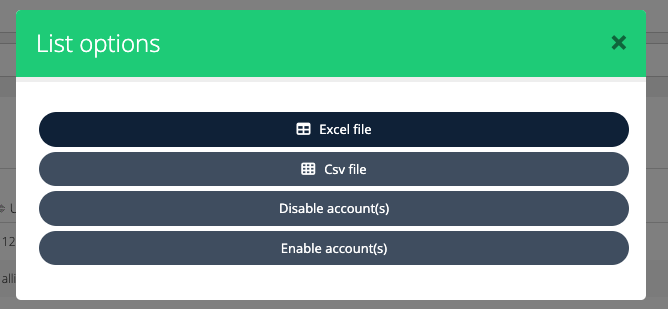
Organization Users export
-
Navigate to Manage Organizations > Select an Organization from the list.
-
You will then be redirected to the Manager Users > Users page.
-
Click on the hamburger icon in the center-right of the screen.
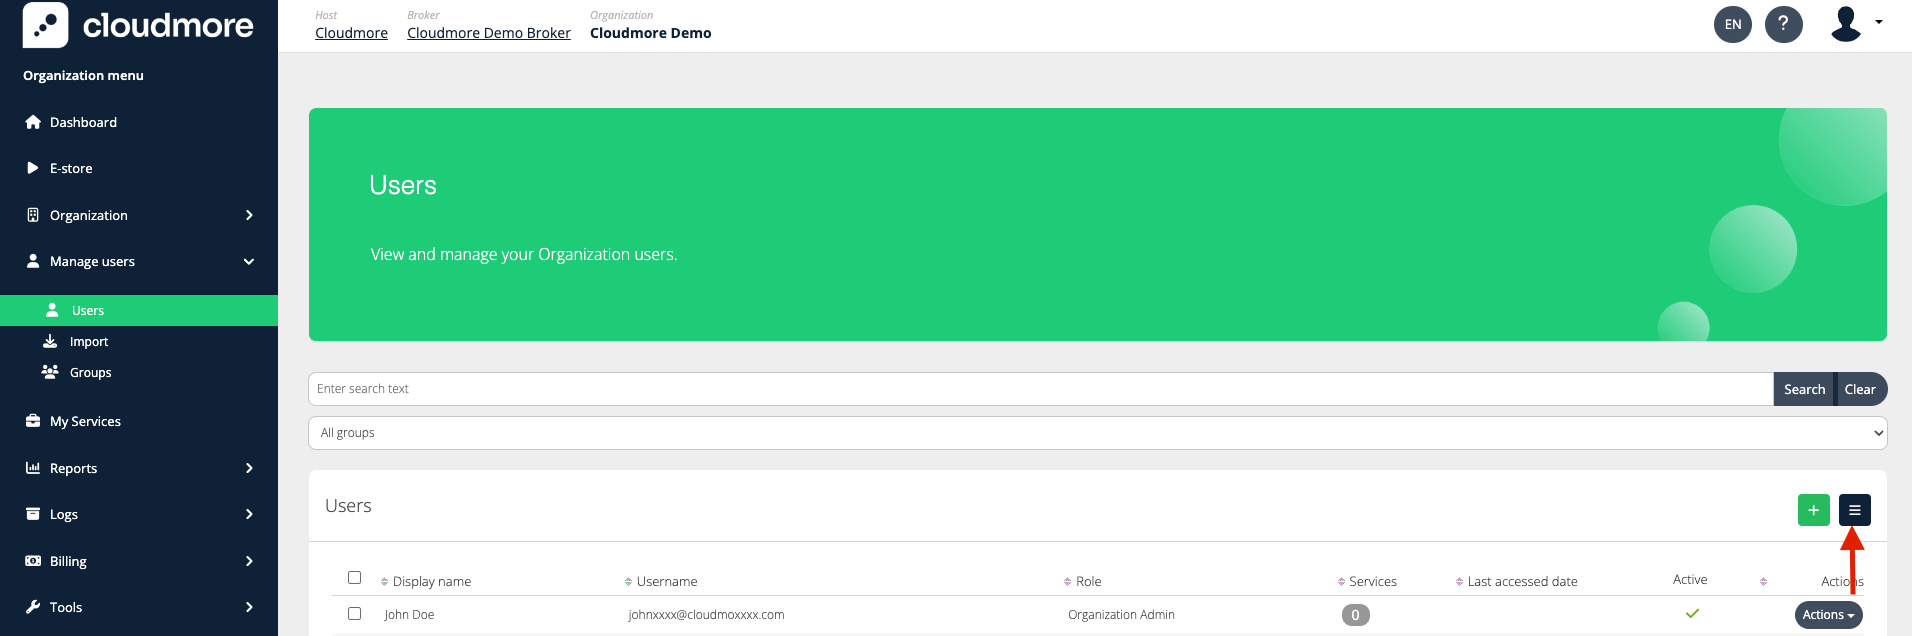
-
Click on the required export file format.