Overview
Organization User Management involves the processes and policies for managing user accounts and assigning roles to users, which determines the nature of access to resources within an organization.
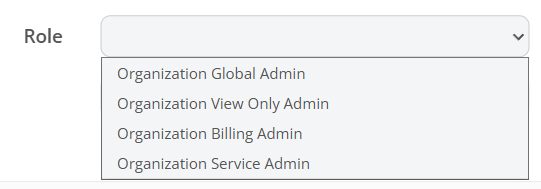
Organization level user roles
|
Role |
Description |
|---|---|
|
Organization Global Admin |
User role with all permissions |
|
Organization View Only Admin |
Same as Organization Admin role but with view-only permissions. |
|
Organization Billing Admin |
User role with admin permissions on all billing-related pages. |
|
Organization Service Admin |
User role with permissions to provisioning and license management. |
Steps Involved in User Management
Important fields for Organization Users
-
(Common fields) - listed under Users & Permissions
-
(Organization User Properties) - The Organization Customer Properties where “User Property” was checked. You can define these yourself, and set the value for each user.
Method 1: Bulk import organization users from Microsoft
Microsoft Azure AD Sync is a tool that connects your local directory (where you manage user accounts) with Microsoft's cloud directory. This synchronization ensures that user accounts, groups, and other directory objects are consistent across both environments, providing a unified identity for users.
For information, refer to Microsoft AD Sync for Organizations.
Method 2: Bulk Import Users
-
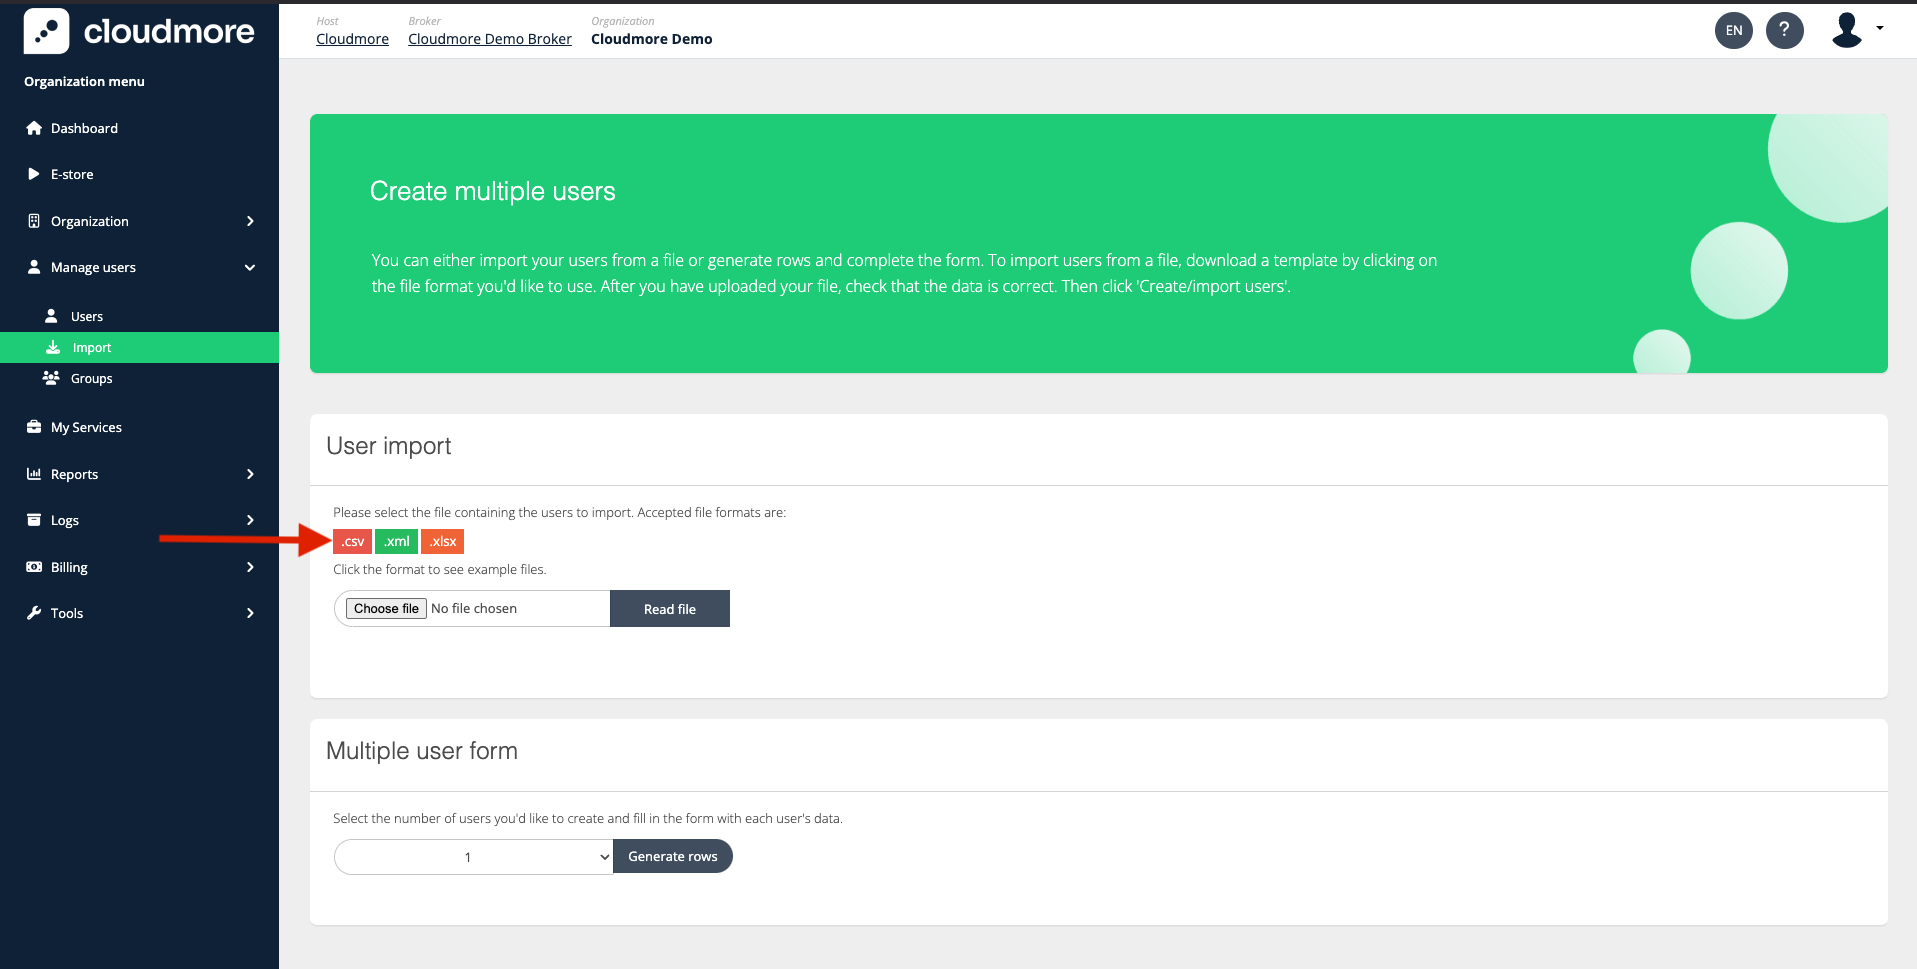
Navigate to Manage Organizations > “Select the preferred organization” > Manage Users > Import
-
Click on the preferred file format to download the template.
-
Fill in the template with the user's information and upload the file. Then, click on Read File.

-
The list of users is then displayed below, which can be used to verify before creating the users.
Method 3: Bulk Import Users Using the Multiple User Form.
-
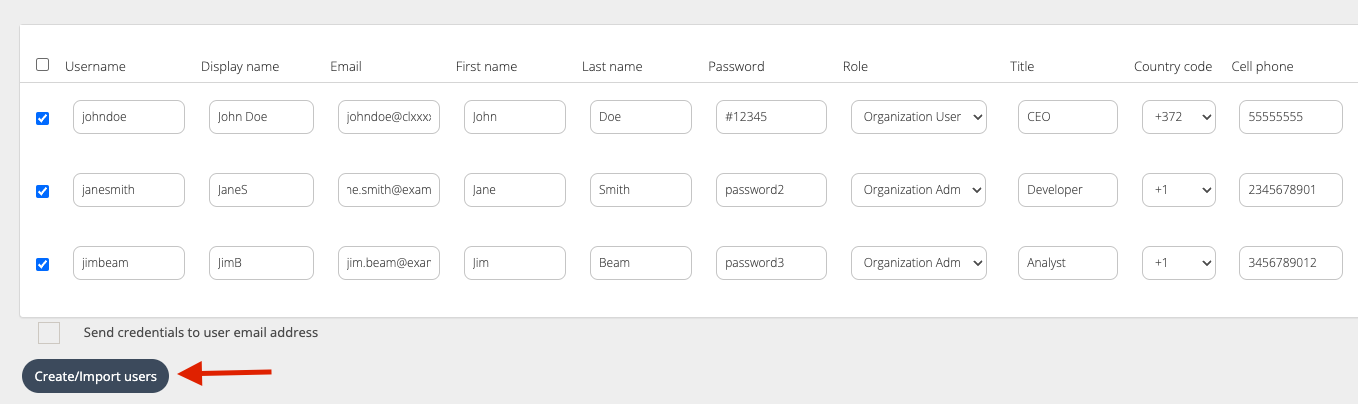
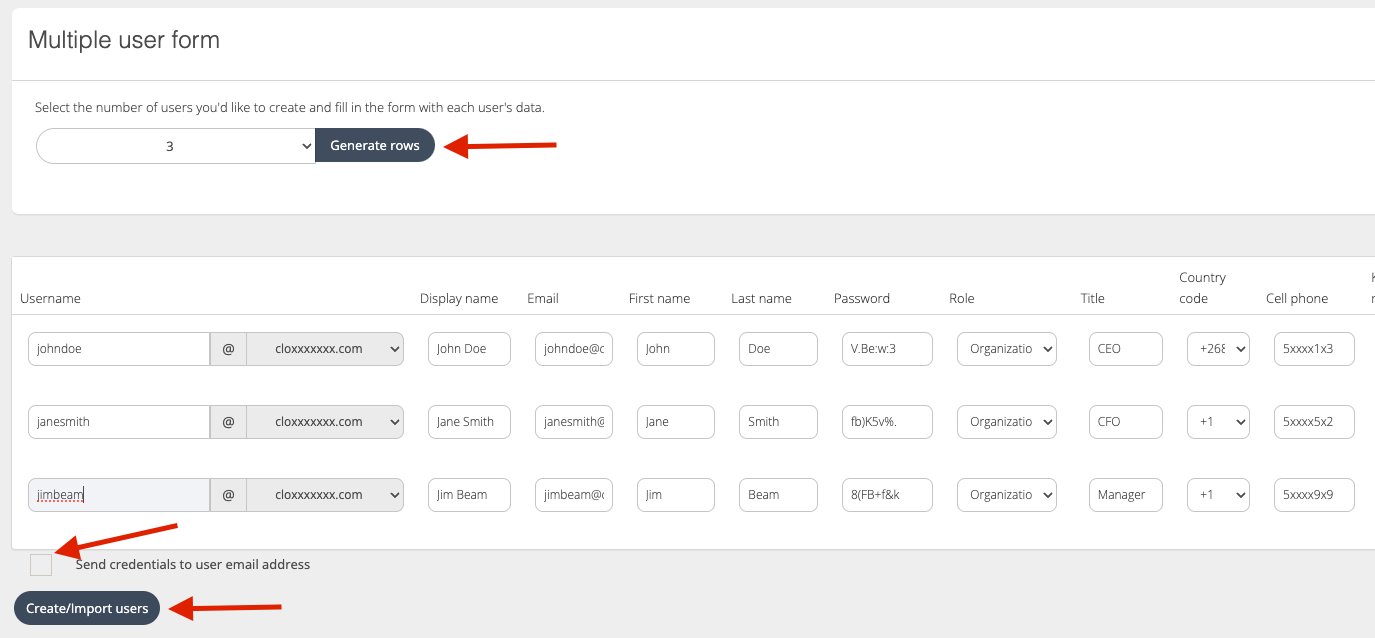
Select the number of users you wish to create and click Generate rows.
-
Enter the user details in the rows below and click Create Users. Click on the check box, to send an email about the credentials to the users.
Method 4: Add Organization Users Individually
-
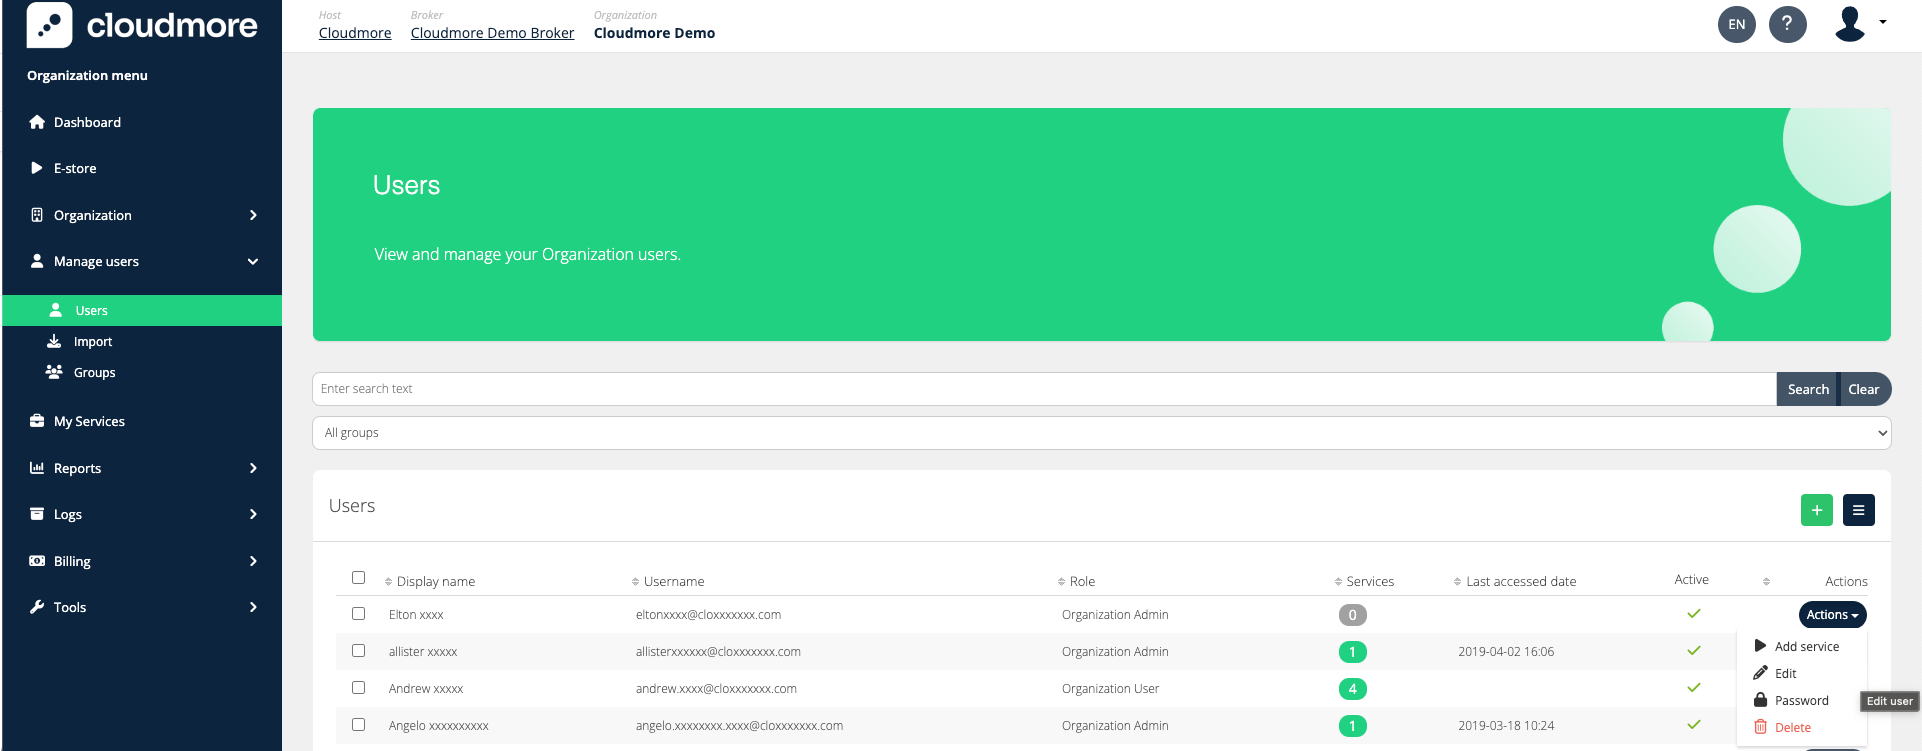
Navigate to Manage Organizations > “Select the preferred organization” > Manage Users > Users
-
Click on New User to add a new user to the organization.

-
Fill in the form and assign the role to the user.
Edit Organization User Properties
Use the Action drop-down menu next to a user to assign new services, update user details, reset the password, or remove the user from the system.
Export Organization Users
To export the organization user list, click the download icon and select the preferred file format.

Organization User Export on Organization Level
|
Roles → Columns ↓ |
Broker Admin roles |
Key Account Manager roles |
Sales Agent role |
Organization Admin |
|---|---|---|---|---|
|
Id |
|
|
|
|
|
Name |
|
|
|
|
|
Services |
|
|
|
|
|
active |
|
|
|
|
|
displayname |
|
|
|
|
|
roleName |
|
|
|
|
|
Street |
|
|
|
|
|
PostalCode |
|
|
|
|
|
City |
|
|
|
|
|
CellPhone |
|
|
|
|
|
Company |
|
|
|
|
|
Created |
|
|
|
|
|
|
|
|
|
|
|
FirstName |
|
|
|
|
|
HomePhone |
|
|
|
|
|
LastName |
|
|
|
|
|
Office |
|
|
|
|
|
SyncNumber |
|
|
|
|
|
Title |
|
|
|
|
|
LastAccessedDate |
|
|
|
|
|
(user custom properties) |
|
|
|
|
Users can be imported and synced programmatically using API calls. For detailed instructions, please refer to Manage users with API.