Overview
The Security Center in Cloudmore helps you prevent, detect, and respond to threats.
This document outlines the key security features and how to configure them to enhance the security of your Cloudmore environment.
Security Features
-
Notifications
-
Purpose - Receive alerts when someone logs into the platform.
-
Setup - You can choose to receive notifications when internal administrators or a customer’s administrators access Cloudmore.
-
-
Multi-Factor Authentication (MFA)
-
Purpose - Add an extra layer of security to your Cloudmore account.
-
Setup - Ensures that only authorized people can access the platform, even if they know their password.
-
-
IP Filtering
-
Purpose - Restrict the range of IP addresses from which administrators can log into Cloudmore.
-
Setup - Once IP address restrictions are set up, Cloudmore will deny logins from unknown IP addresses. This helps protect your data from unauthorized access and phishing attacks.
-
-
Single Sign-On (SSO)
-
Purpose - Manage your users and their level of access to Cloudmore in one central location.
-
Setup - Requires advanced password rules or multi-factor authentication (MFA).
-
Steps Involved in Enabling the Security Features
-
Log in to Cloudmore.
-
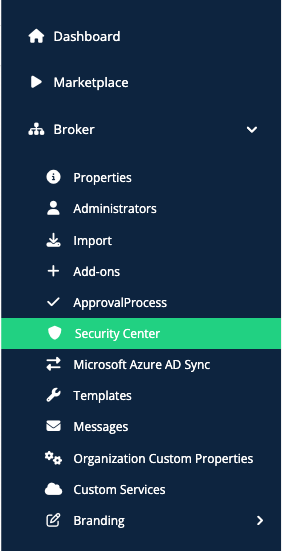
Go to the Security Center - Navigate to Broker > Security Center
-
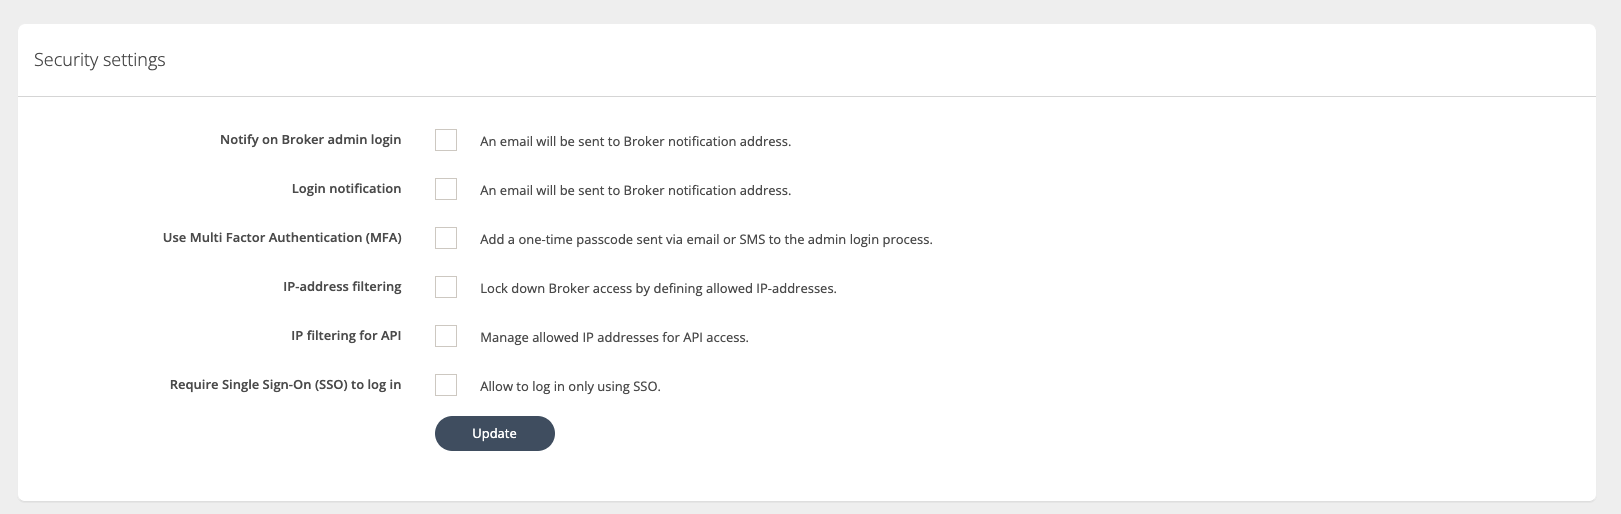
Configure the Settings - Select the options you want to activate.
-
Notify on Broker Admin Login - A notification will be sent when a broker administrator accesses Cloudmore.
-
Login Notification - A notification will be sent when an organization admin accesses Cloudmore.
-
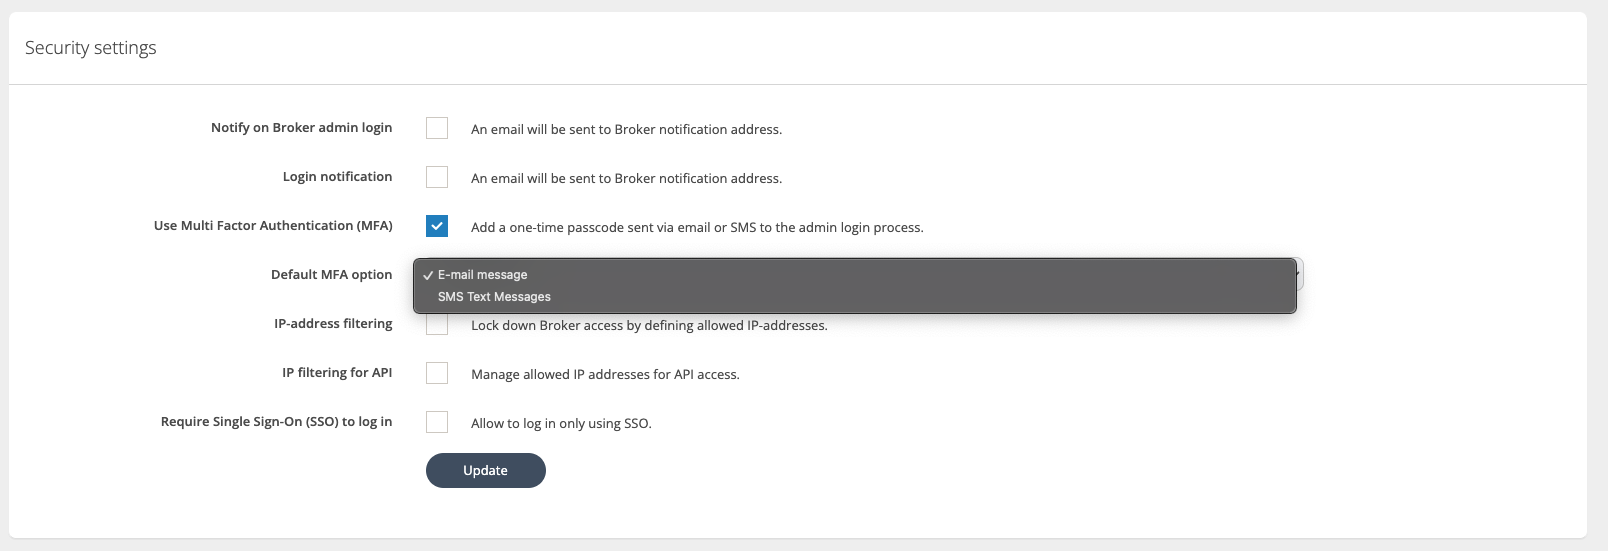
MFA - Enabling MFA means that an additional numerical code is required to log in. This code is sent to the user's email address or mobile telephone during the login process.
-
d. IP address filtering - Lock down login access to specific IP addresses.
1. Select the IP-address filtering option and click Update.
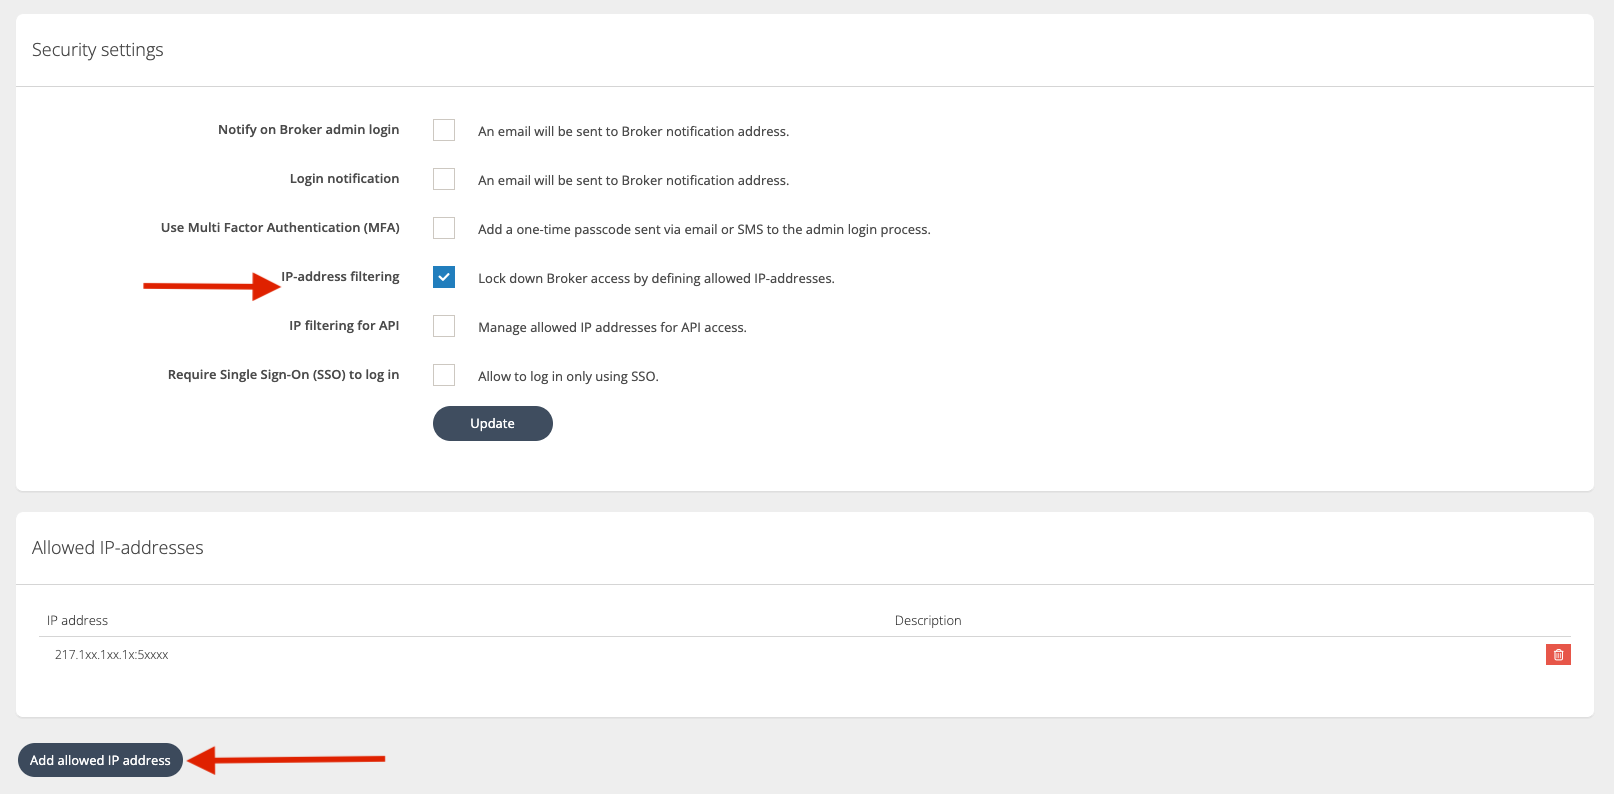
2. Then, enter the allowed IP addresses by clicking the 'Add allowed IP address' button.
e. IP Filtering for API - Lock down login access for APIs to specific IP addresses.
1. Select the 'IP filtering for API' filtering option and click Update.
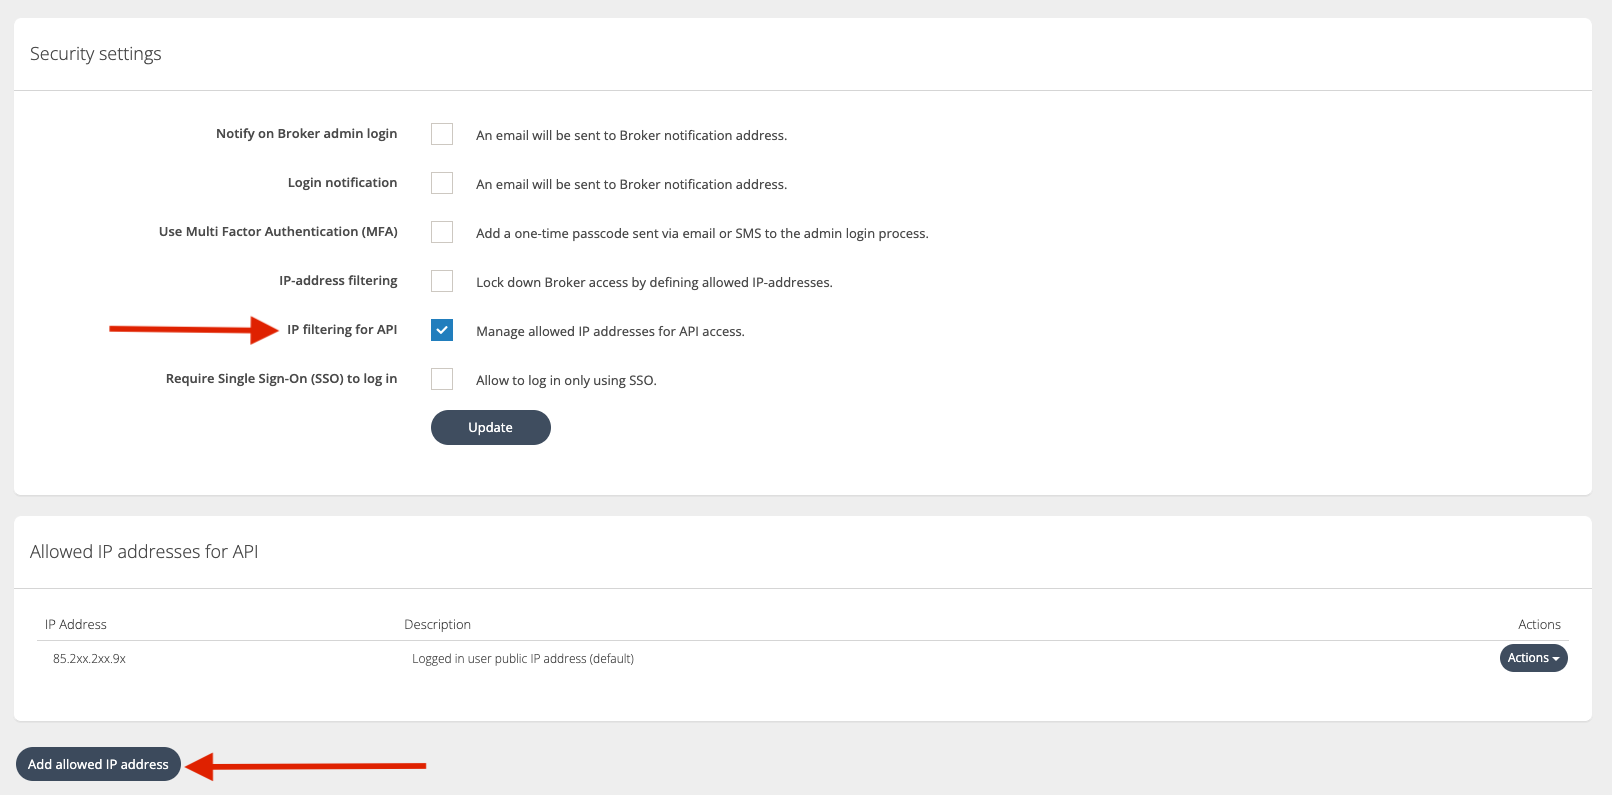
2. Then, enter the allowed IP addresses by clicking the 'Add allowed IP address' button.
f. Single Sign-on - To enable SSO, select the 'Require Single Sign-On (SSO) to log in'. To learn how to configure Single Sign-On, see our guides Microsoft SSO and SAML SSO