Overview
Broker User Management involves managing user accounts and assigning roles to users, determining the nature of access to resources within the broker company.
Broker users are meant to be used to give individual access to each employee of your company, who needs to access the Cloudmore portal.
The role of each user can vary, depending on the permissions they require to execute their job assignments.
Broker level user roles
|
Role |
Description |
|---|---|
|
Super Admin |
A User role with permission to access all resources. |
|
Global Admin |
A User role with permissions to everything except managing broker settings. |
|
Global View Only Admin |
Same as the Global Admin role but with view-only permissions. |
|
Global Support Admin |
A User role to manage all customers, but no access to pricing or billing. |
|
Global Billing Admin |
A User role with admin permissions on all billing-related pages. |
|
Key Account Manager |
A User role with full admin permissions on a subset of assigned organizations. |
|
Key Account View Only Manager |
Same as the Key Account Manager role but with view-only permissions. |
|
Limited Key Account Manager |
Same as the Key Account Manager but cannot edit approval process settings. |
|
Sales Agent |
Same as the Limited Key Account Manager but cannot view or edit any cost or margins. |
Permissions by roles
✍️ - can edit
🧐 - view only
❌ - no access
🟪 - access limited to assigned organizations only
|
Role →
|
Super Admin |
Global Admin |
Global View Only Admin |
Global Support Admin |
Global Billing Admin |
Key Account Manager |
Key Account View Only Manager |
Limited Key Account Manager |
Sales Agent |
|---|---|---|---|---|---|---|---|---|---|
|
Broker settings |
✍️ |
🧐 |
🧐 |
❌ |
❌ |
❌ |
❌ |
❌ |
❌ |
|
Broker users |
✍️ |
✍️ |
🧐 |
❌ |
❌ |
❌ |
❌ |
❌ |
❌ |
|
Broker pricing |
✍️ |
✍️ |
🧐 |
🧐 |
✍️ |
❌ |
❌ |
❌ |
❌ |
|
Broker approvals |
✍️ |
✍️ |
🧐 |
✍️ |
❌ |
✍️ |
🧐 |
🧐 |
❌ |
|
Broker billing |
✍️ |
✍️ |
🧐 |
❌ |
✍️ |
🧐 |
🧐 |
🧐 |
🧐 |
|
Organization subscriptions |
✍️ |
✍️ |
🧐 |
✍️ |
❌ |
✍️ |
🧐 |
✍️ |
✍️ |
|
Organization pricing |
✍️ |
✍️ |
🧐 |
✍️ |
❌ |
✍️ |
🧐 |
✍️ |
🧐 |
|
Organization billing |
✍️ |
✍️ |
🧐 |
✍️ |
❌ |
🧐 |
🧐 |
🧐 |
🧐 |
Steps Involved in Broker User Management
Method 1: Bulk import broker users from Microsoft
Microsoft Azure AD Sync is a tool that connects your local directory (where you manage user accounts) with Microsoft's cloud directory. This synchronization keeps user accounts consistent in both environments.
For information, refer to Microsoft AD Sync for Broker Users.
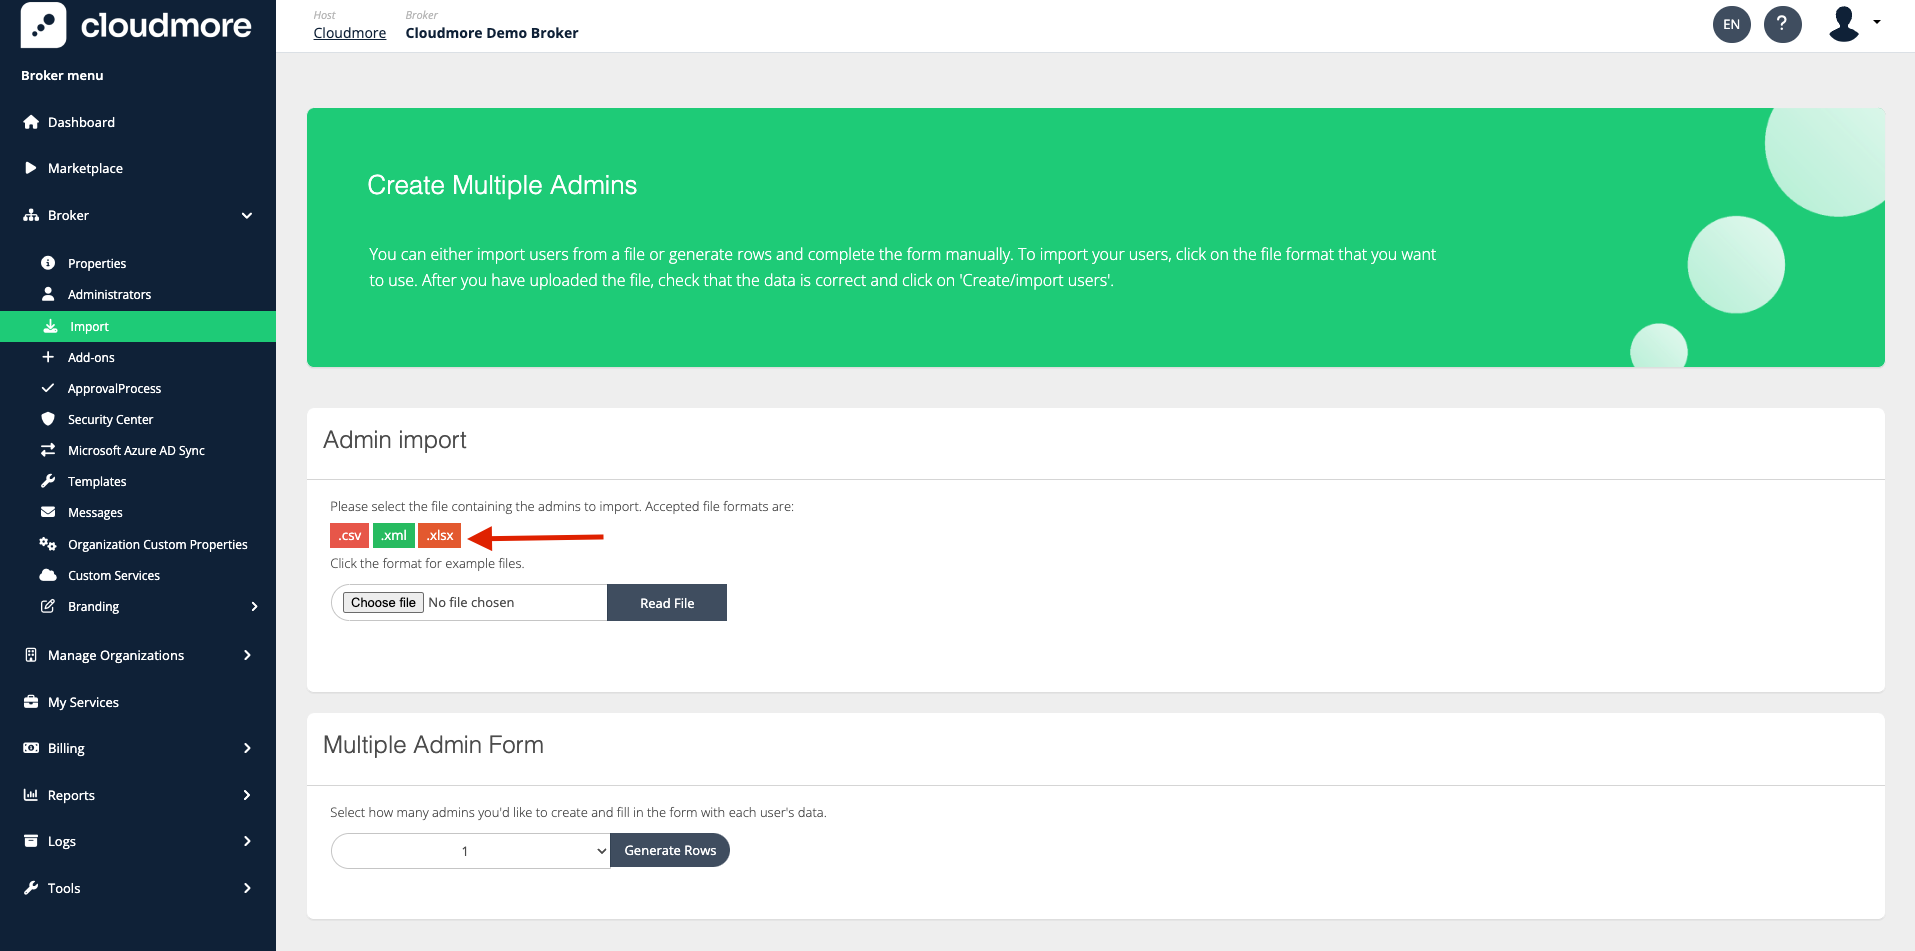
Method 2: Bulk Import Users by Uploading CSV/XLSX
-
Navigate to Broker > Import.
-
Click on the preferred file format to download the template.
-
Fill in the template with the user's information and upload the file. Then, click on Read File.

-
The list of users is then displayed below, which can be used to verify before creating the users.

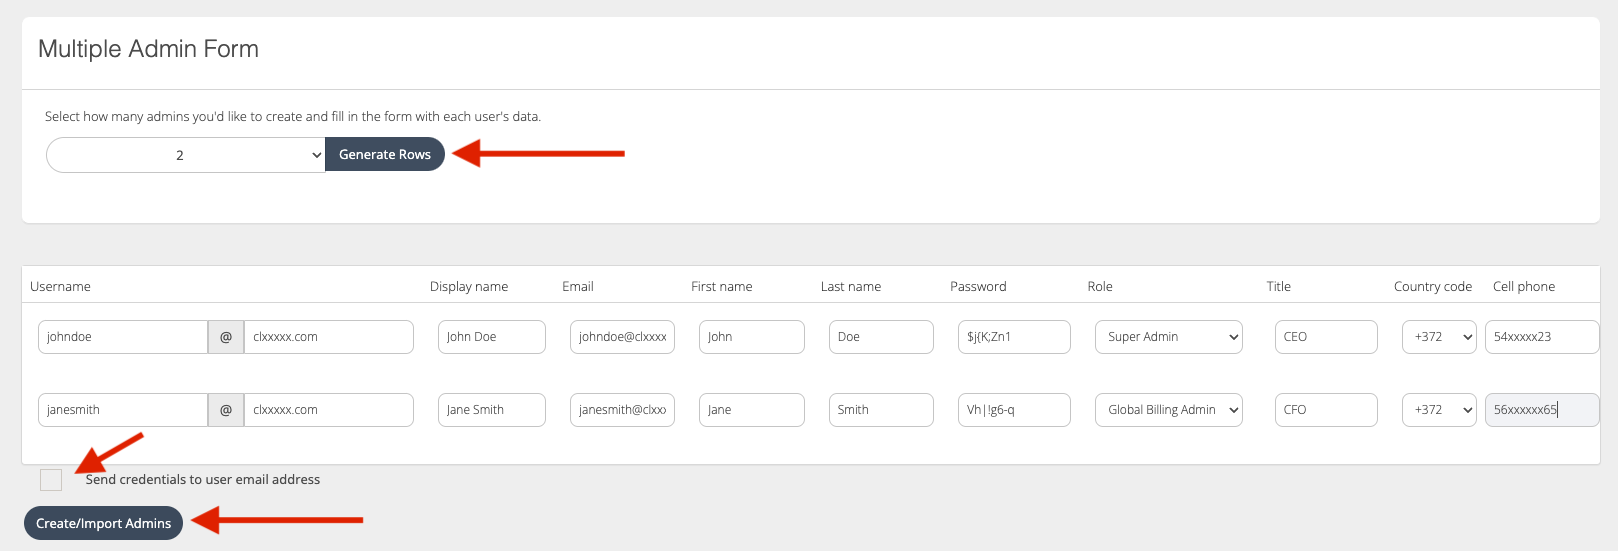
Method 3: Bulk Import Users Using the Multiple Admin Form
-
Select the number of users you wish to create and click Generate rows.
-
Enter the user details in the rows below and click Create Users. Click on the check box, to send an email about the credentials to the users.
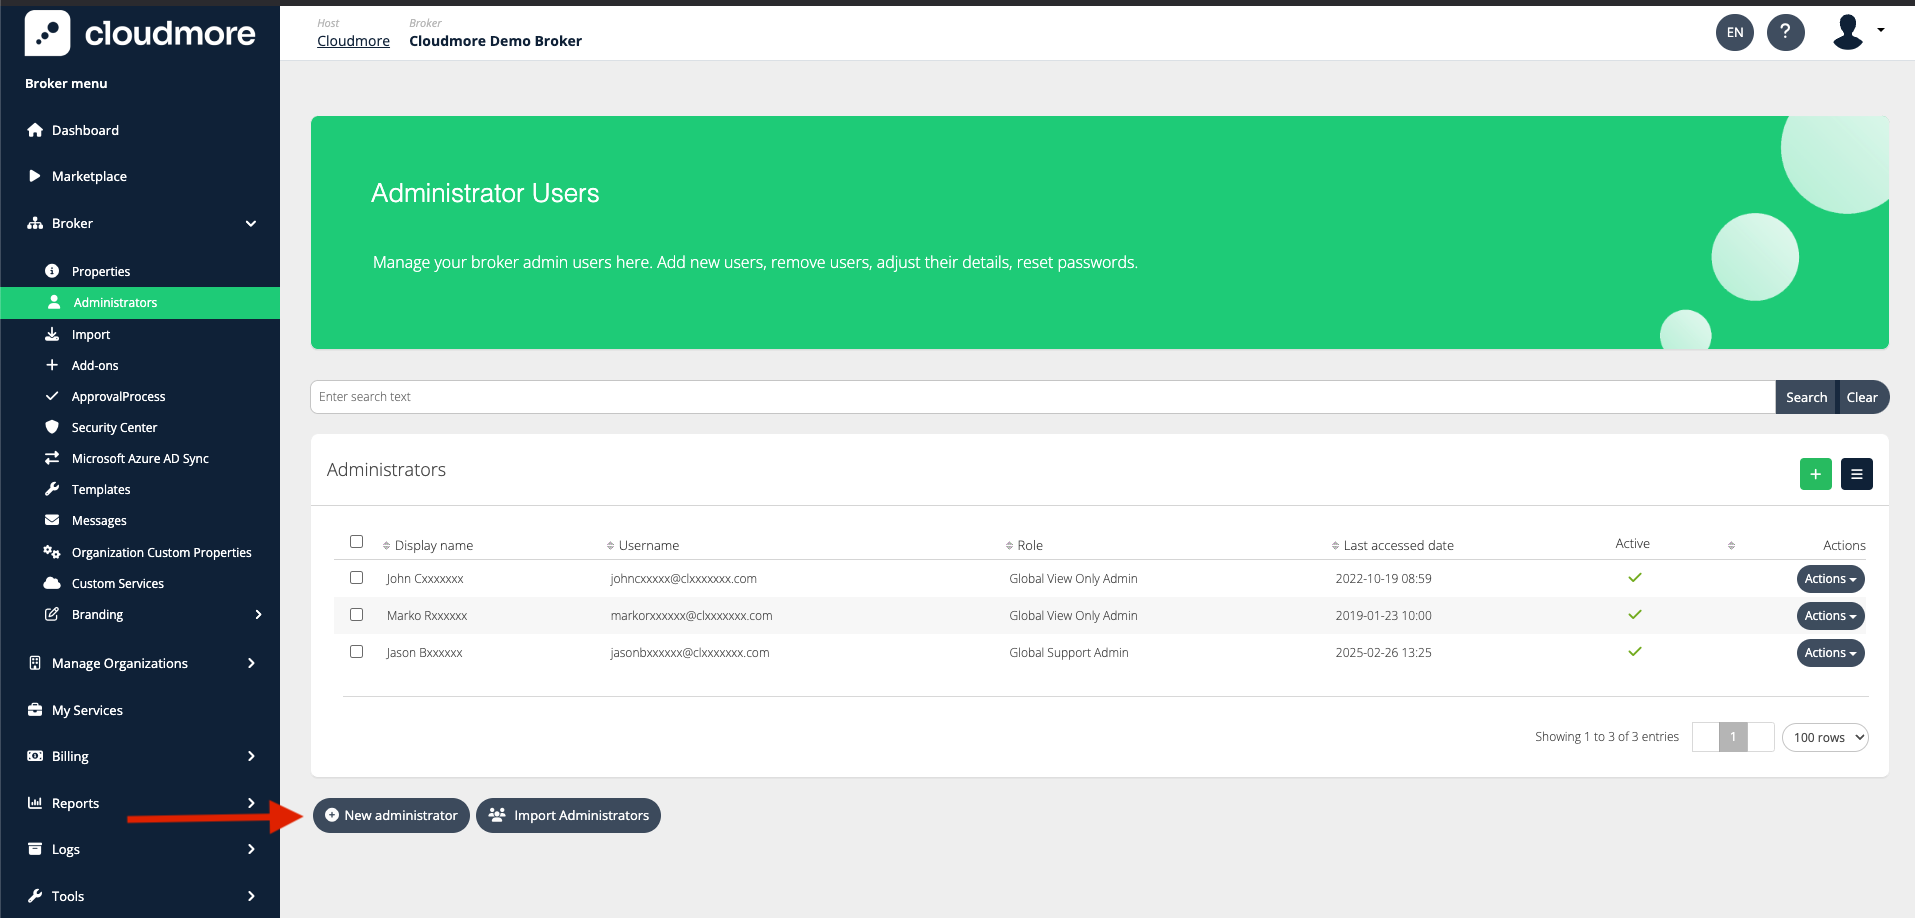
Method 4: Add Broker Users Individually
-
Navigate to Broker > Administrator.
-
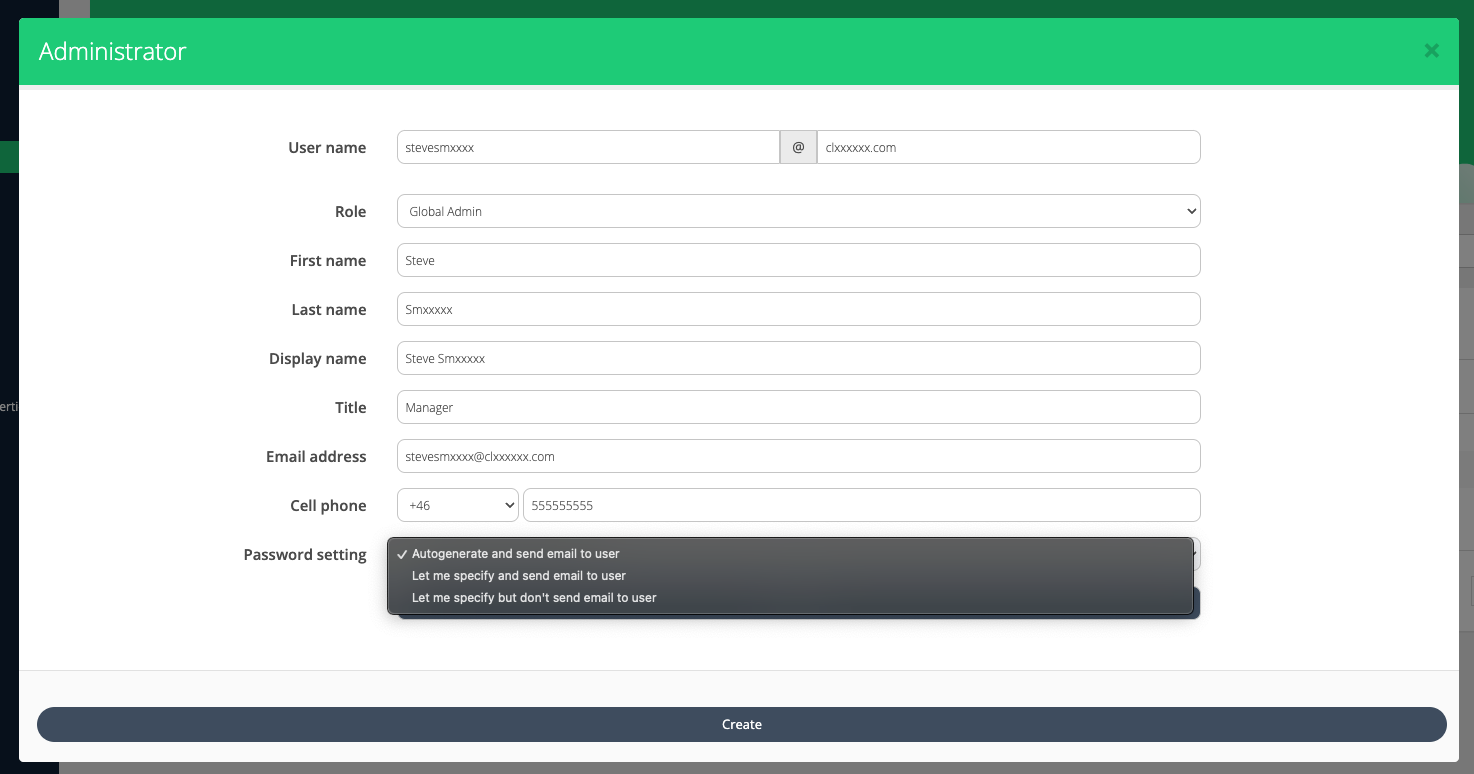
Click on New Administrator to add a new Broker user.
-
Fill in the form and assign the role to the admin.
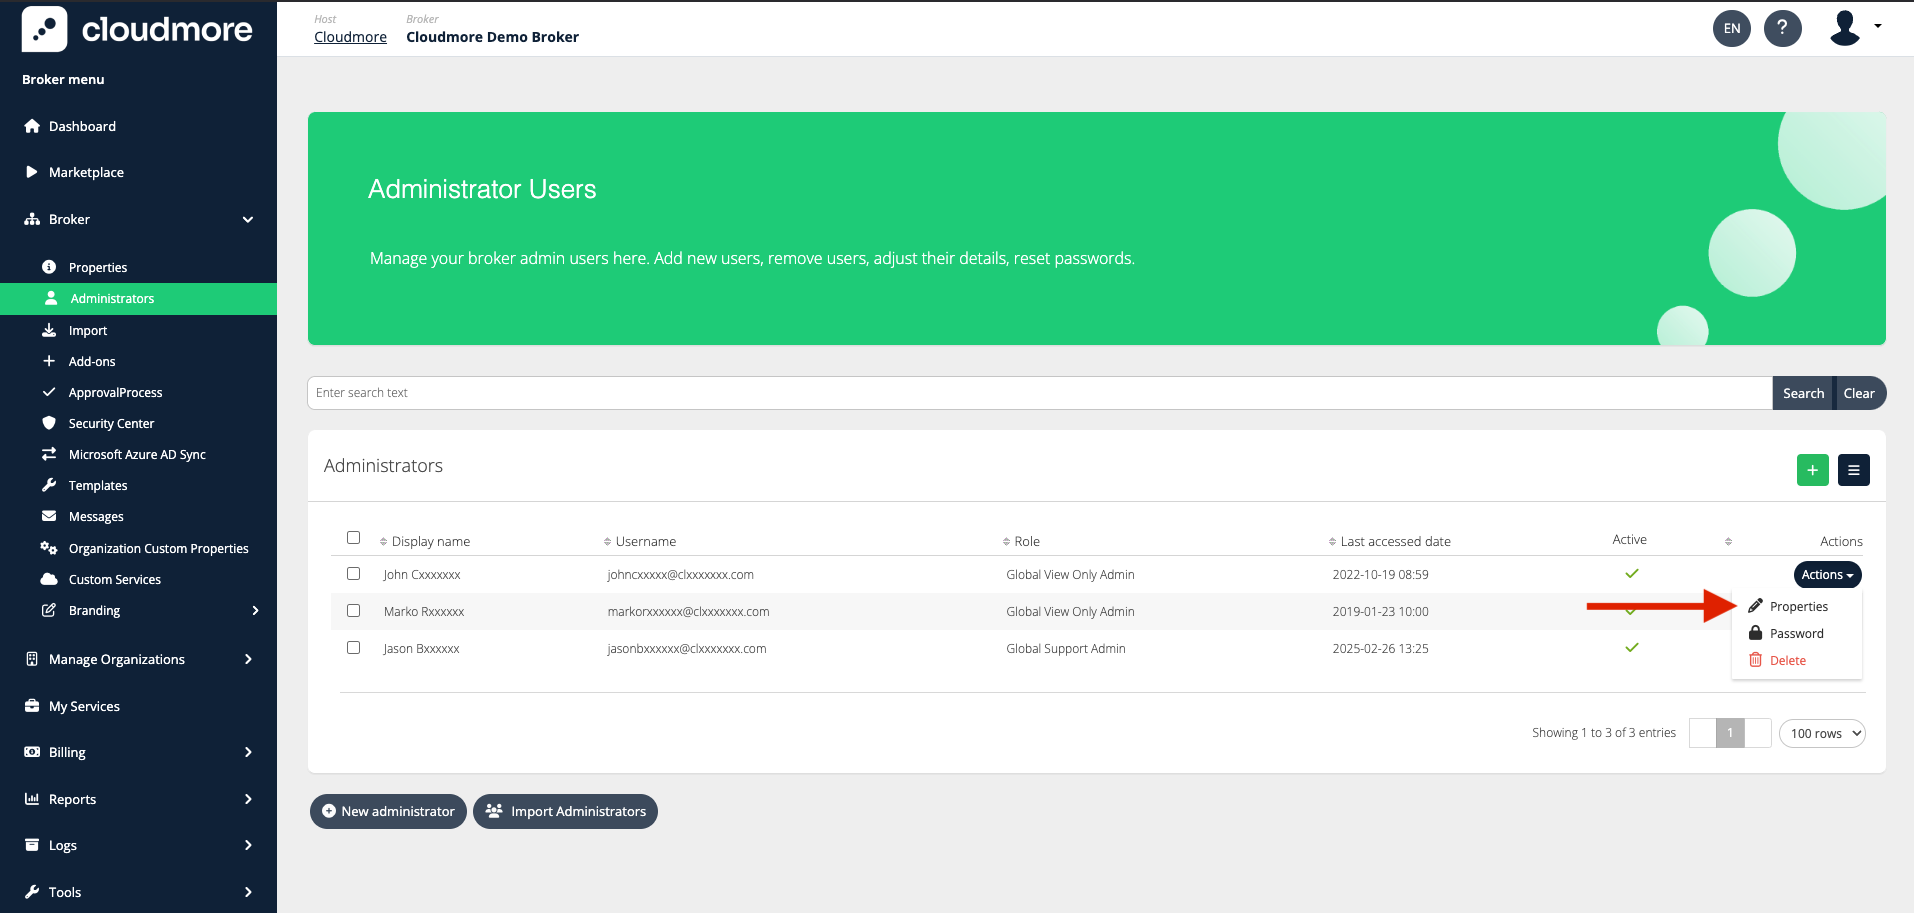
Edit Broker Admin Properties
Use the Action drop-down menu next to an admin to assign a new role, update user details, reset the password, etc.
Organization Groups
Some broker users, such as Key Account Managers and Sales Agents, can be assigned to Organization Groups. This assignment determines which organizations they can view and access on the Organizations page, as well as in the Billing and Renewal Reports. For more details, refer Organization Group Management
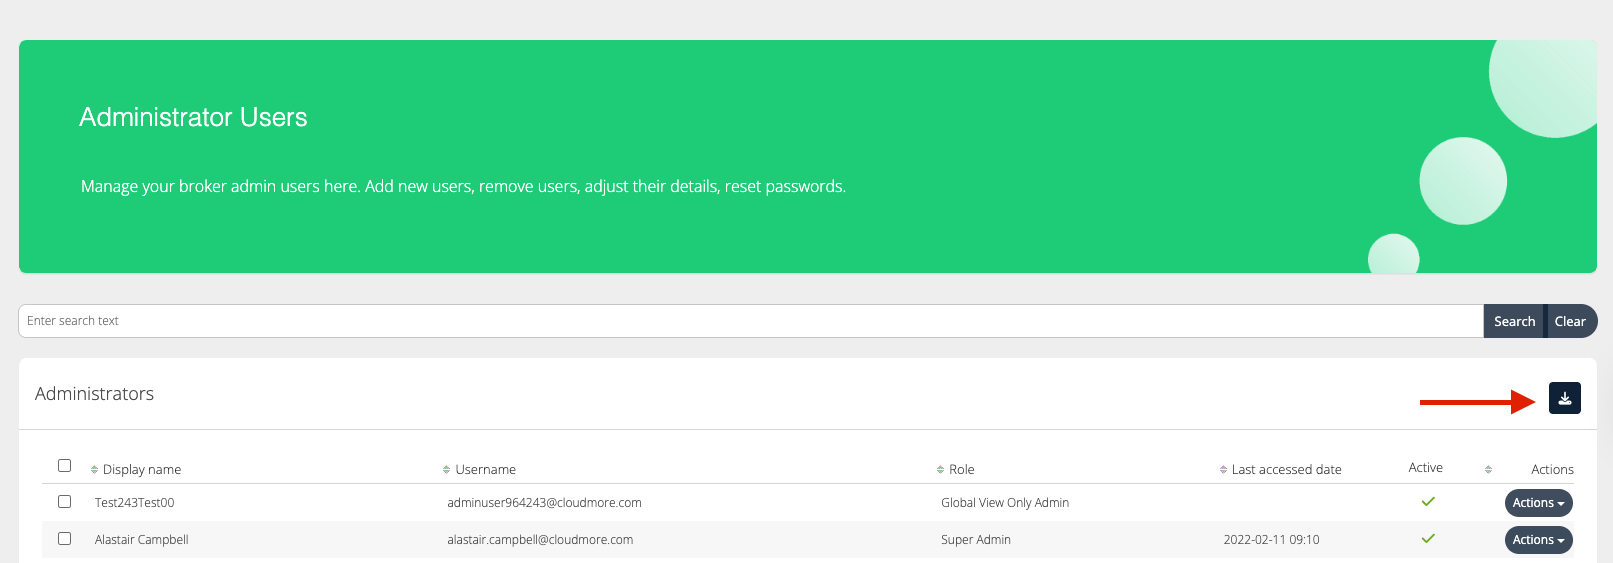
Export Broker Users
To export the broker user list, click the download icon and select the preferred file format.
Broker User Export on Broker Level
|
Roles → Columns ↓ |
Broker Admin roles |
Key Account Manager roles |
Sales Agent role |
|---|---|---|---|
|
|
|
|
|
|
Id |
|
|
|
|
Name |
|
|
|
|
Role |
|
|
|
|
displayname |
|
|
|
|
active |
|
|
|
|
IsKeyAccountManager |
|
|
|
|
LastAccessedDate |
|
|
|